

The article will guide you through the complete procedure to install Odoo version 14 in CentOS 7. However, please feel free to try out the same instructions on CentOS 8 as well.
Let’s go through this step by step.
Step1: Update Packages and Install the EPEL Repository
Updating the existing CentOS packages will be beneficial in any installation process in Linux. So why don’t we also do the same?
sudo yum updateHere we have used yum. But feel free to use dnf if it suits you.
Then we have to install the EPEL repository.
sudo yum install epel-release
Step2: Create a Separate User for Odoo
In order to make things clean, we better create a new user for Odoo in the system.
sudo useradd -m -U -r -d /opt/odoo -s /bin/bash odooThe created ‘odoo’ user is assigned to the /opt/odoo directory. Hence the user will be able to operate within that directory only.
You can use any name for the user, but make sure to use the same name in the following steps as well.
Step 3: Install Python and Odoo Dependencies
Odoo uses Python for its operations. Hence let’s install Python as the next step. When installing Python, make sure to install a 3.x version. Older versions won’t work with Odoo.
sudo yum install python36 python36-devel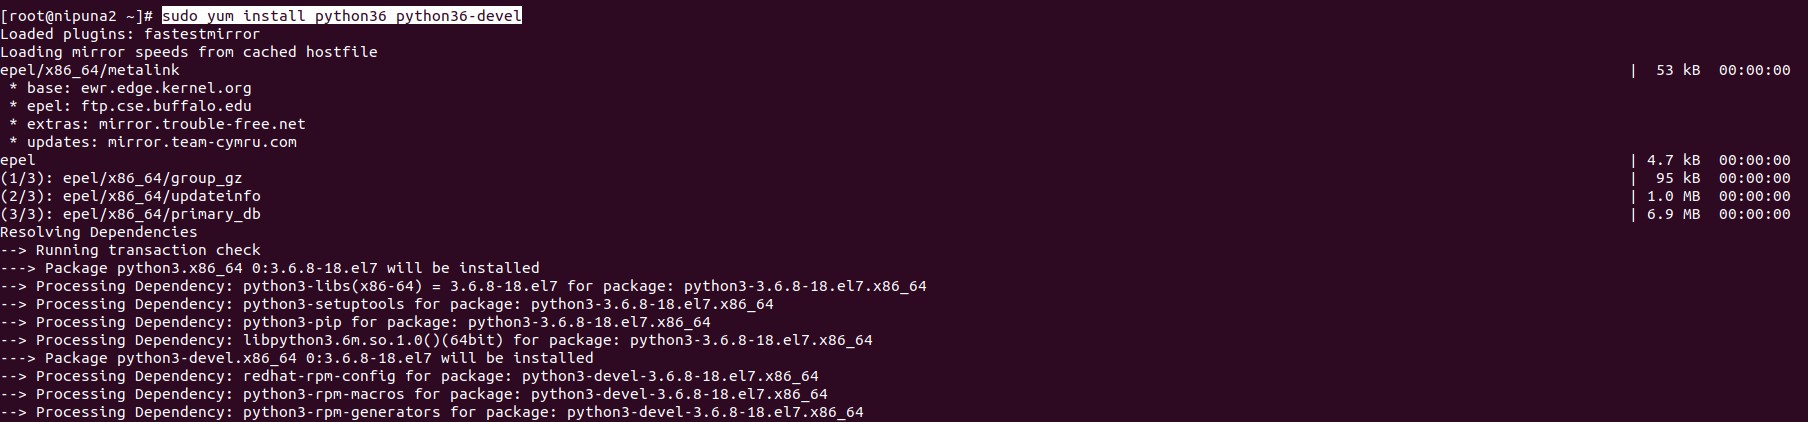
There are more packages that are required to build Odoo 14.
sudo yum install git gcc wget nodejs libxslt-devel bzip2-devel openldap-devel libjpeg-devel freetype-devel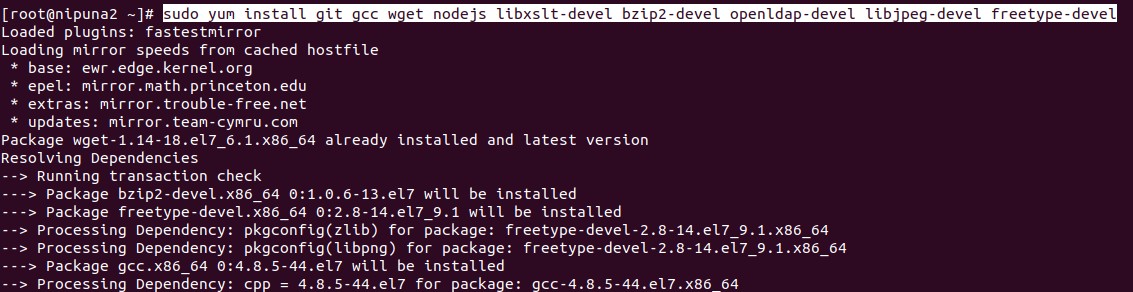
Step4: Install PostgreSQL
Odoo uses PostgreSQL to store user and application data. So let’s install it and create a new database user.
sudo yum install postgresql postgresql-server postgresql-contrib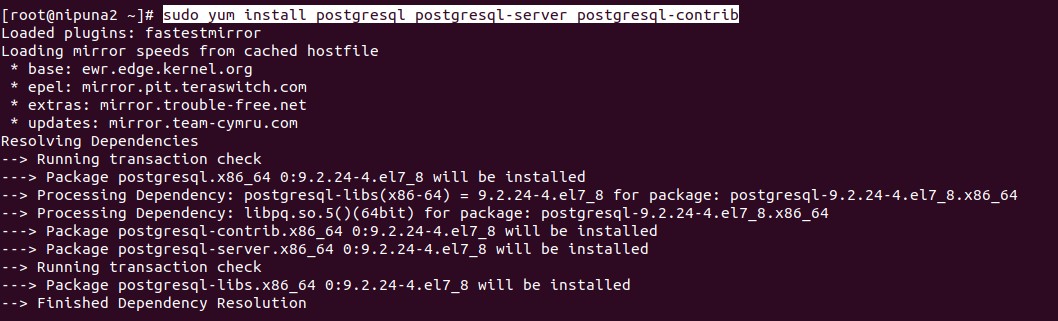
Make sure the database is ready to work on your server:
sudo /usr/bin/postgresql-setup initdbThen, let’s start the PostgreSQL service and make sure it will be up and running by default.
sudo systemctl start postgresql
sudo systemctl enable postgresql
We can check the installation status using the following command.
sudo systemctl status postgresql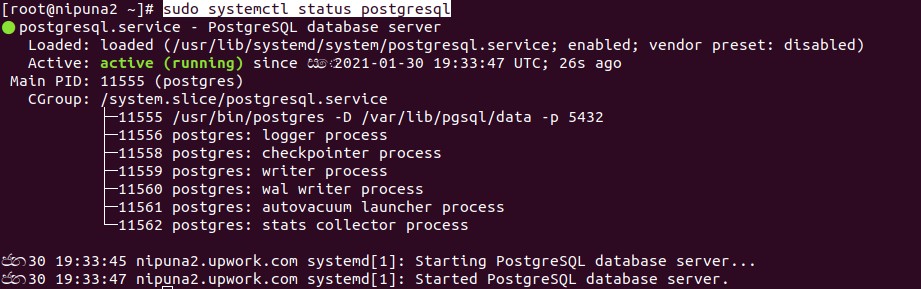
Create a new PostgreSQL user:
sudo su - postgres -c "createuser -s odoo"
Step5: Install Wkhtmltopdf
Wkhtmltopdf is an additional package that we can use with Odoo. It converts HTML (web page markup) to PDF and comes in handy when generating PDF reports. It’s better if we have it installed now.
First, we have to download it from the official website.
sudo wget https://downloads.wkhtmltopdf.org/0.12/0.12.5/wkhtmltox-0.12.5-1.centos8.x86_64.rpm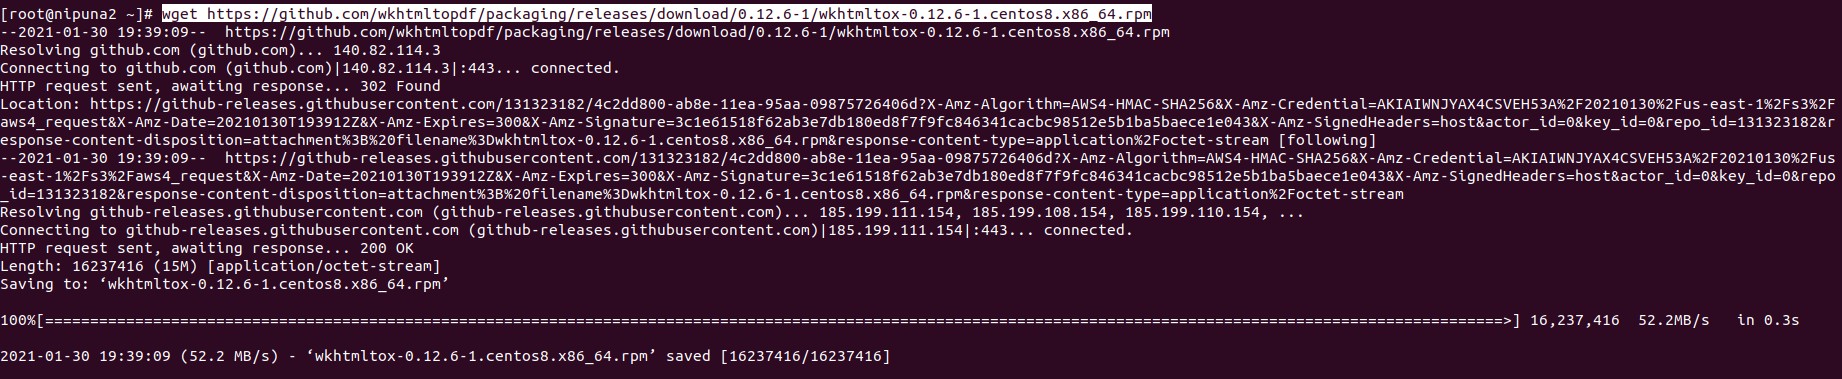
Once the download is completed, we can install it in the system.
sudo yum localinstall wkhtmltox-0.12.5-1.centos8.x86_64.rpm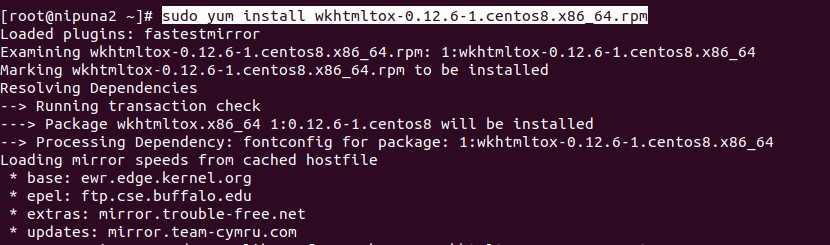
Step 6: Download Odoo 14
Now we are at the point of downloading Odoo.
Before proceeding, let’s switch to the user created at Step 3.
sudo su - odooThen we can download Odoo 14 into the /opt/odoo from the official Github repository.
git clone https://www.github.com/odoo/odoo --depth 1 --branch 14.0 /opt/odoo/odoo14
Step 7: Set-up the Python Environment
Odoo requires specific Python modules to function properly.
We can create a Python virtual environment so that Odoo Python modules won’t interfere with the system's Python modules.
The Python virtual environment can be created using the following command.
cd /opt/odoo && python3 -m venv odoo14-venvThis will create a new folder called odoo14-venv inside the /opt/odoo folder. Now we can freely maintain a dedicated python environment with required modules without affecting the system.
Activate the virtual environment:
source odoo14-venv/bin/activateIn the created virtual environment, the library and module details are stored in the requirement.txt file by default. We can use it to install all the required modules in one command.
pip3 install -r odoo14/requirements.txt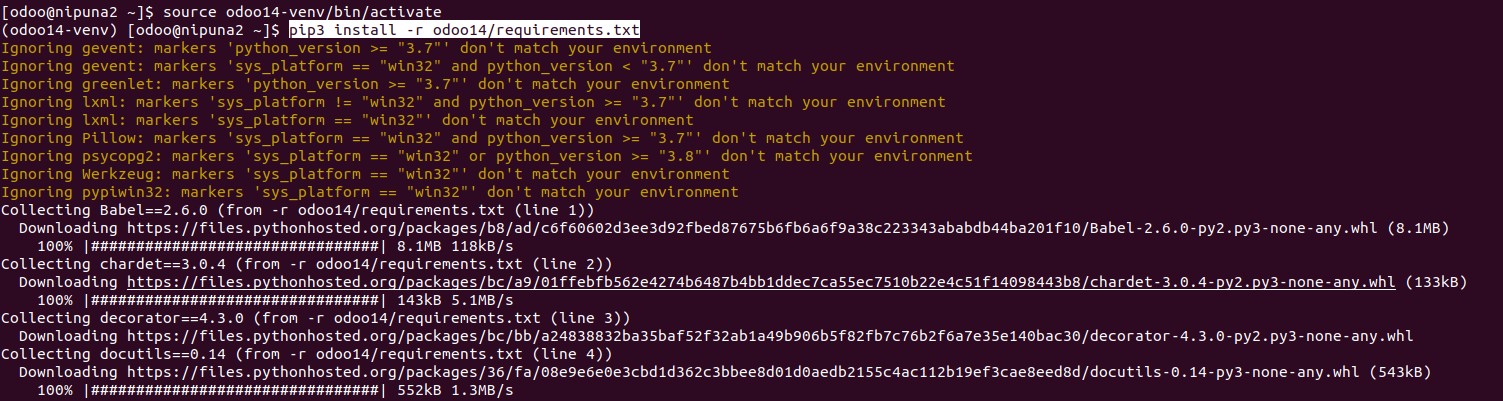
You can disregard the orange messages that might appear during the installation.
Deactivate and exit the virtual environment:
deactivate && exit
Step 8: Create Directories for Custom Addons and Odoo Logs
Create custom addons folder:
sudo mkdir /opt/odoo/odoo14-custom-addonsMake the ‘odoo’ user as the owner:
sudo chown odoo: /opt/odoo/odoo14-custom-addonsCreate a directory to store odoo logs:
sudo mkdir /var/log/odoo14Create an empty log file:
sudo touch /var/log/odoo14/odoo.logMake the ‘odoo’ user the owner of it as well:
sudo chown -R odoo: /var/log/odoo14/
Step 9: Configure the Odoo Instance
Let’s create a configuration file named odoo.conf to store settings and preferences for the Odoo instance.
Open the file:
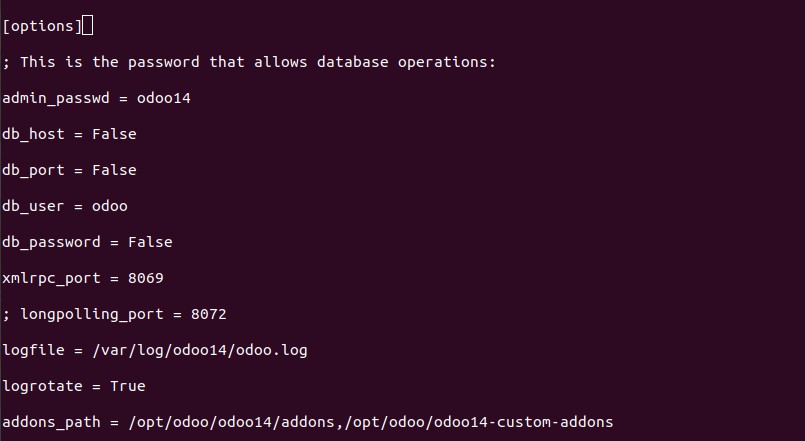
sudo nano /etc/odoo.confCopy the following content into the configuration file:
[options]
; This is the password that allows database operations:
admin_passwd = master_password
db_host = False
db_port = False
db_user = odoo
db_password = False
xmlrpc_port = 8069
; longpolling_port = 8072
logfile = /var/log/odoo14/odoo.log
logrotate = True
addons_path = /opt/odoo/odoo14/addons,/opt/odoo/odoo14-custom-addons
You don’t have to make many changes. But make sure to change the master_password into a more secured value which will be used as your main Odoo password.
Make the ‘odoo’ user the owner of this file as well:
sudo chown odoo:odoo /etc/odoo.confAnd then provide required file permissions:
sudo chmod 640 /etc/odoo.conf
Step 10: Create the systemd Configuration File
Creating a specific systemd file in the CentOS system allows you to run Odoo as a service in the background. It will provide an easy way to start/stop the Odoo instance and do health checks.
First, we need to create a .service file in the /etc/systemd/system folder.
sudo nano /etc/systemd/system/odoo14.serviceThen copy and paste the below text into the file:
[Unit]
Description=Odoo14
#Requires=postgresql-10.6.service
#After=network.target postgresql-10.6.service
[Service]
Type=simple
SyslogIdentifier=odoo14
PermissionsStartOnly=true
User=odoo
Group=odoo
ExecStart=/opt/odoo/odoo14-venv/bin/python3 /opt/odoo/odoo14/odoo-bin -c /etc/odoo.conf
StandardOutput=journal+console
[Install]
WantedBy=multi-user.target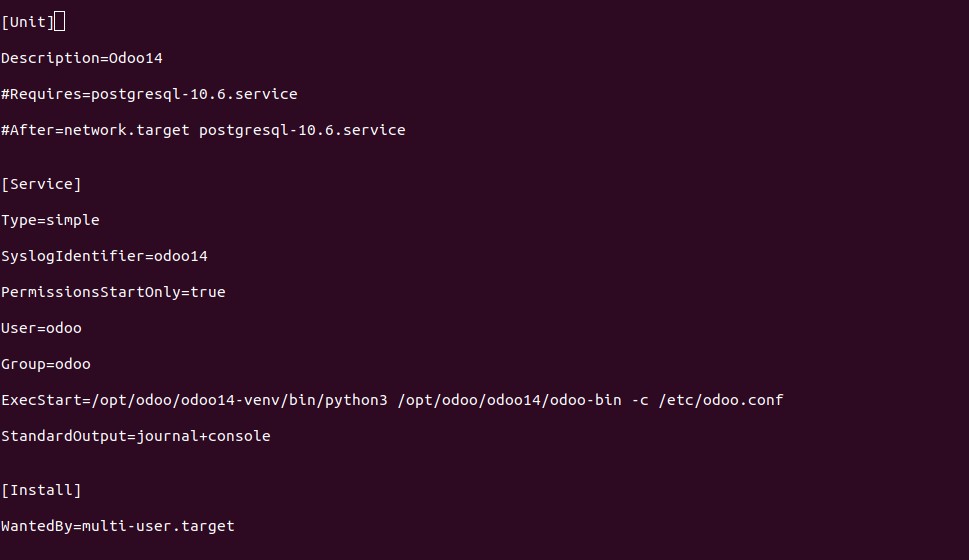
If you followed instructions correctly, then no changes are needed. However, please make sure you have pointed to the correct python directory, configuration file, and username.
Step 11: Start Odoo and Activate the Service
If all the things are set in place, then we can use the newly created service to start the Odoo instance.
First, reload the systemd daemon:
sudo systemctl daemon-reloadThen start the service and enable it to run by default:
sudo systemctl start odoo14.service
sudo systemctl enable odoo14.service
You can check whether the Odoo service is up and running by the following command.
sudo systemctl status odoo14.service
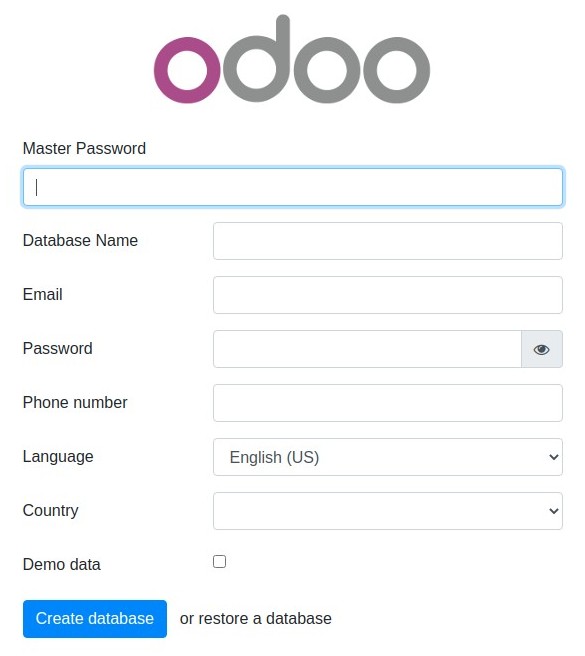
Step 14: Access the Odoo Graphical User Interface
We are all set.
Now we can access the Odoo GUI by accessing its home page:
http://{ip_address}:8069Please make sure to give your server’s IP address.
If you have followed the given instructions correctly, you will be presented with the Odoo starting screen.
That’s it then. Welcome to the world of Odoo.

