

If you are here with us, reading this article, it could mean that:
- You are interested in ERPNext [1] and
- You are searching for a detailed installation guide for CentOS.
Luckily you have come to the right place. We will walk you through how to install ERPNext properly on CentOS. We have included screenshots wherever it is necessary so that you won’t get lost in the middle.
The content of this guide is already tested and verified with the CentOS 8 but feel free to try with other CentOS versions as well.
Let’s get things started.
For those who are new to ERPNext, let’s begin with a brief introduction.
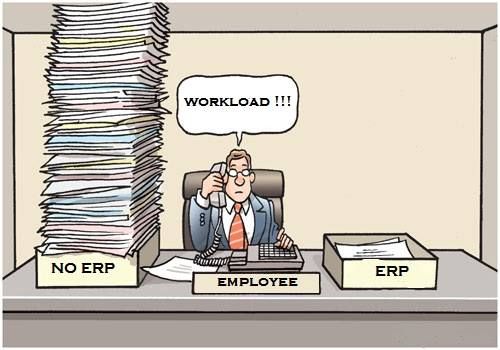
The ERPNext is an ERP framework designed for small to medium-sized businesses. It is a full-featured ERP that helps you to record all business transactions in a single system. The ERPNext comes with a variety of features that will help you to track invoices and payments, manage payrolls, handle customer queries, get data on stocks, customers, and suppliers, handle purchases, manufacturing, sales, and many more.
This is only a brief introduction to what ERPNext can offer. You can experience its full power once you start to use it. But to use it, you need to install it. That’s why we are here for you. If you need more details regarding the ERPNext and what it can offer, you better refer to the official documentation via the links provided at the end [2].
Before starting, you better make sure to have the following prerequisite:
- Minimum of 2GB RAM
- 2 or more CPU cores
- CentOS 8 installation
- Full root access
Nowadays it is hard to find a computer with less than 2GB RAM and 2 cores of CPU. So we guess you will do fine.
First, let’s break down the process into more manageable steps.
Step1: Update the CentOS system
Before starting with the installation, it is always a good idea to update system packages to their latest versions.
sudo yum update -y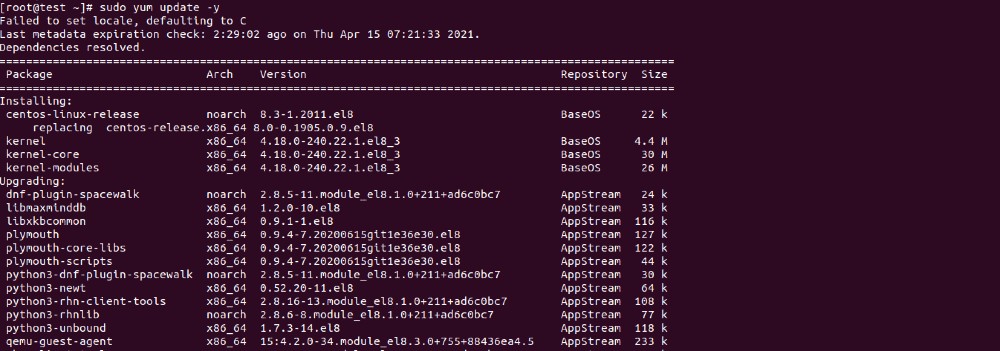
Then install the following package.
sudo yum install -y epel-release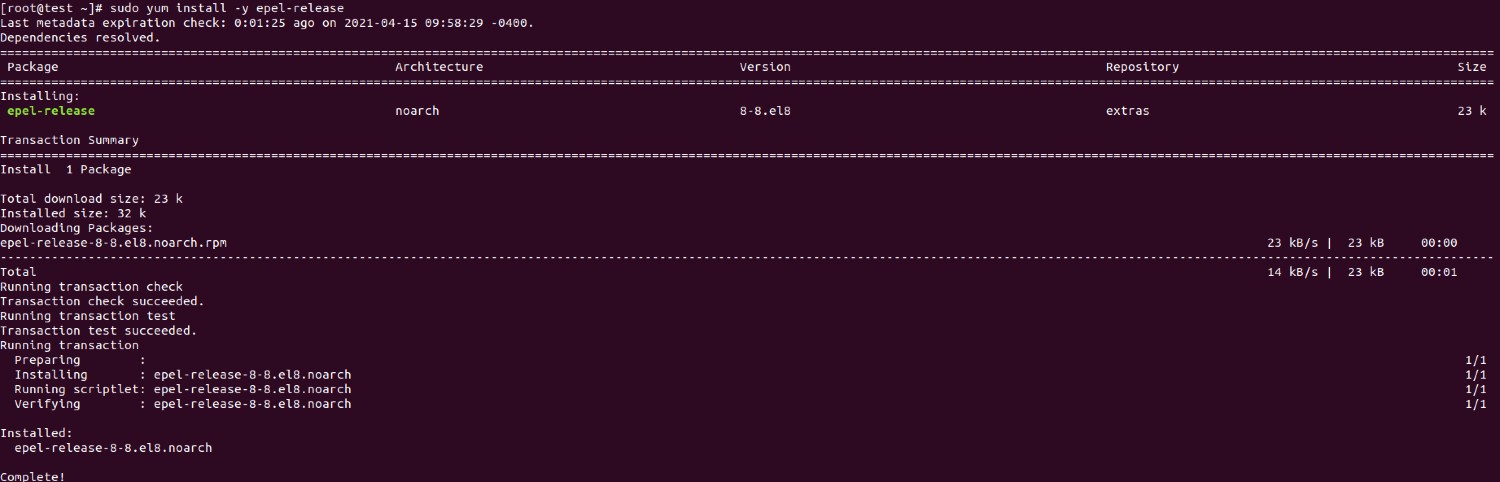
Step2: Prepare Prod and Dev
When we are setting up a system for a business, usually two environments are configured as Development and Production. The dev environment will be used for all the testing while the prod environment is used as the live environment for end-users.
Here we will install the Nginx load balancer in the production environment only. To avoid conflicts during the installation process, it is better to uninstall Apache and MariaDB from the environments beforehand.
To stop and uninstall Apache (in prod only):
sudo systemctl stop httpd
sudo yum remove -y httpd httpd-tools apr apr-util
To stop and uninstall MariaDB (in both prod and dev):
sudo systemctl stop mariadb
sudo yum remove -y mariadb mariadb-server
sudo rm -rf /var/lib/mysql /etc/my.cnf
Since we are not installing Nginx in the Dev, there is no need to uninstall Apache.
Then let's install the required packages:
sudo yum install -y gcc make git mariadb mariadb-server nginx supervisor python3 python3-devel python2 python2-devel redis nodejs
Install Yarn Package Manager:
sudo npm install -g yarn
Step3: Disable SELinux
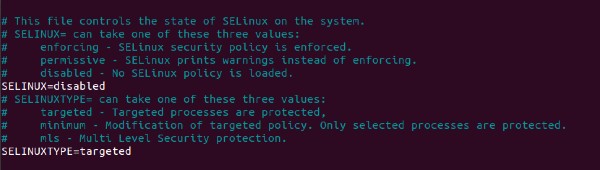
It is better to disable SELinux at this point so that we don’t have to worry about setting up complex SELinux rules.
setenforce 0The above command will disable SELinux only temporarily. It will be only valid for that particular session. To disable it permanently, you can open the /etc/sysconfig/selinux file using a preferred text editor and do the below changes.
nano /etc/sysconfig/selinuxOnce the file is open, change the following line:
SELINUX=enforcing
To:
SELINUX=disabled
Make sure to save changes before closing the file.
Step4: Install ERPNext
Let’s create a user dedicated to the ERPNext with Sudo privileges.
sudo useradd -m erp -G wheelThe default sudo settings require us to enter the password when we issue the command. We can avoid it with:
sudo sed -i 's/^#\s*\(%wheel\s\+ALL=(ALL)\s\+NOPASSWD:\s\+ALL\)/\1/' /etc/sudoersAlso, we need to set additional kernel parameters:
echo "vm.overcommit_memory = 1" | sudo tee -a /etc/sysctl.conf
echo "echo never > /sys/kernel/mm/transparent_hugepage/enabled" | sudo tee -a /etc/rc.d/rc.local
sudo chmod 755 /etc/rc.d/rc.local
After the above changes, reboot the server to make those take effect.
Step5: Configure MariaDB (MySQL fork) for ERPNext
ERPNext supports MariaDB to store the persistent part of the data. We have already installed MariaDB later in step 1. In step4, let’s configure it for the ERPNext.
Create a config file for ERPNext for MariaDB:
nano /etc/my.cnf.d/erpnext.cnfThen add the following content, and save changes.
[mysqld]
innodb-file-format=barracuda innodb-file-per-table=1 innodb-large-prefix=1 character-set-client-handshake = FALSE character-set-server = utf8mb4 collation-server = utf8mb4_unicode_ci
[mysql]
default-character-set = utf8mb4
Enable and start the MariaDB service:
sudo systemctl enable mariadb
sudo systemctl start mariadb
You can check the status and ensure it is up and running:
sudo systemctl status mariadb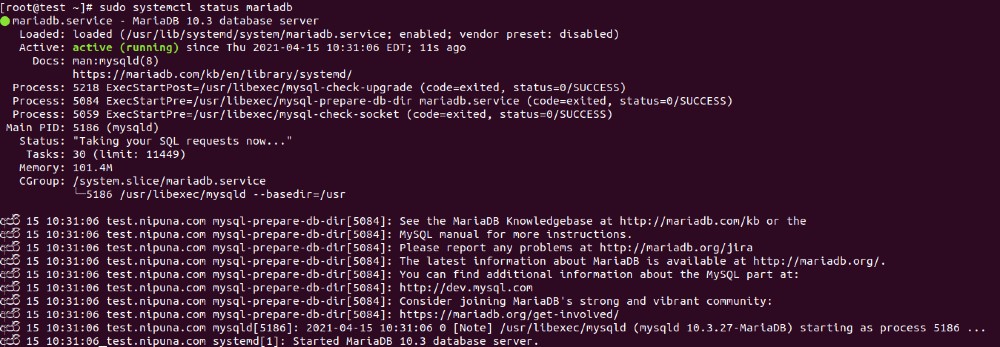
Start the MariaDB secure installation script. You will be asked for a password here.
sudo mysql_secure_installation
Step6: Install ERPNext
When installing ERPNext, let’s switch to the user we created for it.
su - erpInstall frappe-bench with pip3 and initialize version-12:
pip3 install --user frappe-bench
bench init frappe-bench --frappe-branch version-12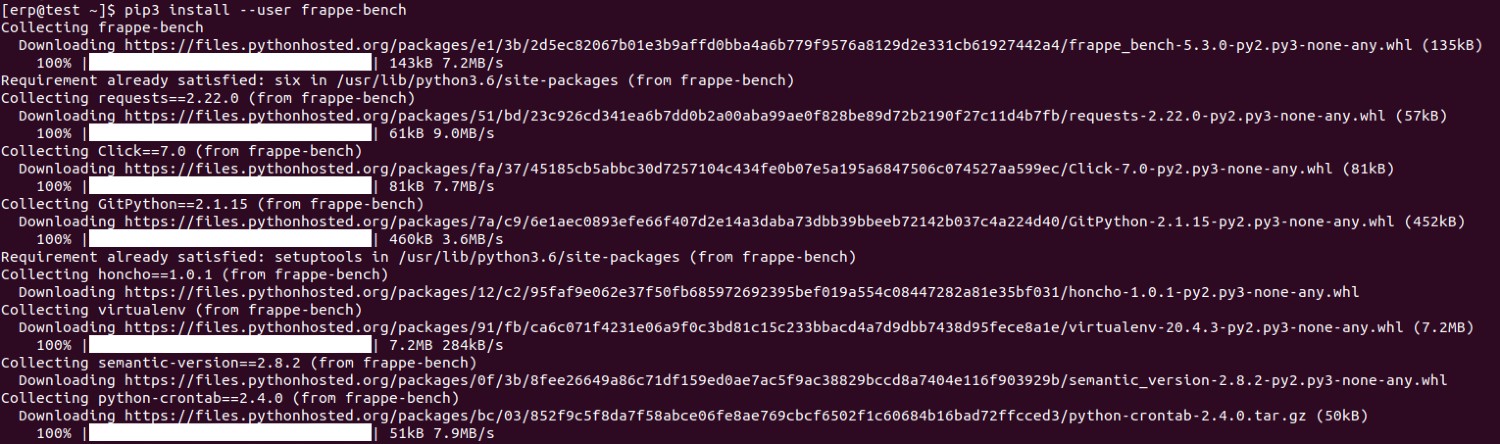

If it was installed successfully, you will get the following message:
SUCCESS: Bench frappe-bench initializedNow we can create a new frappe site for our ERPNext instance using the initialized frappe-bench. For that, let’s switch to the frappe-bench directory and start the frappe development server:
cd frappe-bench
sed -i '/web:/ s/$/ --noreload/' Procfile
bench start >/tmp/bench_log &
At this point, we need to create a new site using our domain/subdomain name:
bench new-site erp.testhosting.comYou will be asked to enter the MySQL root password that we have given earlier.
Now we are ready to download and install ERPNext via the bench.
First, download the latest ERPNext version with bench:
bench get-app erpnext --branch version-12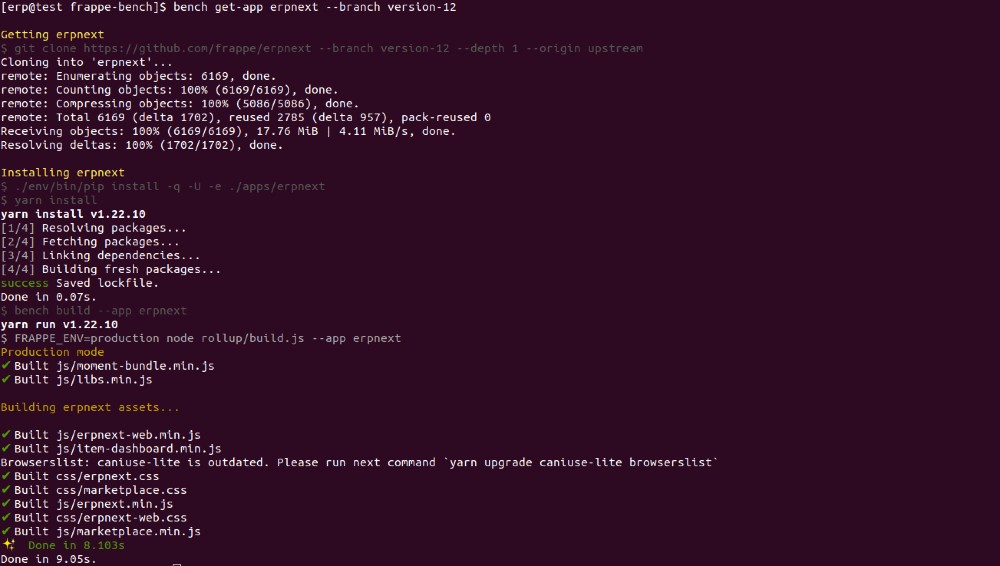
After the download is completed, install it using:
bench install-app erpnextAll is set. Now we are ready to use ERPNext.
Step7: Starting ERPNext
7.1: Development Environment
You can start the ERPNext in the Dev environment using the below commands:
If you are already logged in as the ‘erp’ user and navigated to the ‘frappe-bench’ directory then you can skip the first two commands.
By default, the ERPNext application listens to port 8000. The port number will increase by one automatically when you are trying to add more sites at Step5.
Then access the application using:
http://[domain]:8000
Login: Administrator
Password: The password given during the installation
7.2: Production Environment
For the Prod environment, we have to do some extra work due to the involvement of Nginx and the Supervisor.
We need to create production files for the supervisor and Nginx:
su - erp
cd frappe-bench
bench setup supervisor
bench setup nginx
Here again, you don’t need the first two commands if you are already using the ‘erp’ user and reside at the ‘frappe-bench’ directory.
Add a link of the newly created configuration files to their respective services:
sudo ln -s `pwd`/config/supervisor.conf /etc/supervisord.d/frappe-bench.ini
sudo ln -s `pwd`/config/nginx.conf /etc/nginx/conf.d/frappe-bench.conf
Change the Nginx process owner to be erp by editing /etc/nginx/conf/nginx.conf and changing the user directive to:
user erp erp;Now we can enable and start both supervisor and Nginx:
sudo systemctl enable supervisord
sudo systemctl start supervisord
sudo systemctl enable nginx
sudo systemctl start nginx
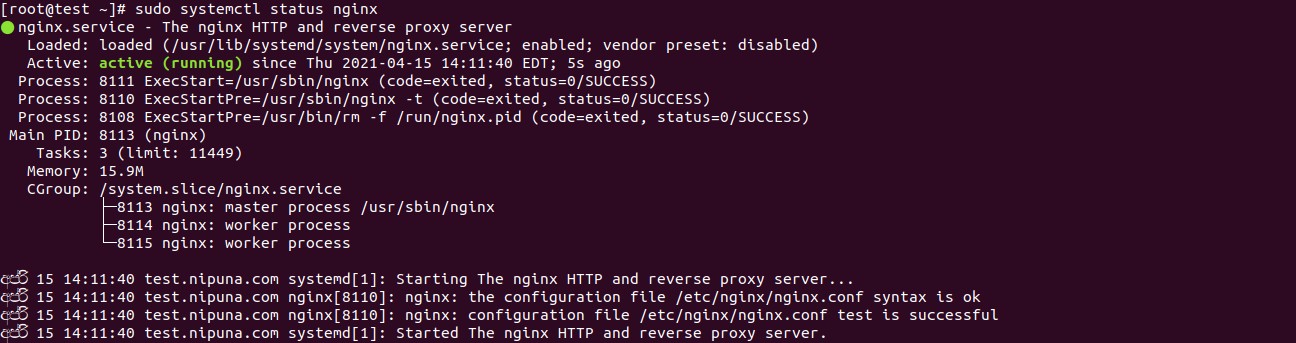
The status of each can be checked using the below commands:
sudo systemctl status supervisord
sudo systemctl status nginx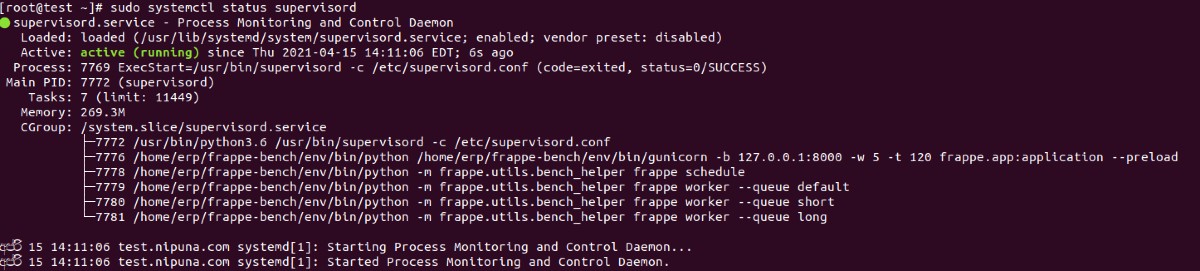
If the guidelines were followed correctly you should be having an up and running system by this point. You can log in to the production website using the site name you gave earlier. You don't have to give the port 8000 as the Nginx is already configured as a reverse proxy for port 8000.
Then you can now log in to your production website without using port 8000 as the Nginx web server is already configured as a reverse proxy for port 8000. You can complete the initial setup of your ERPNext application once you log in to the system.
That's it then. Now you can enjoy the benefits of the ERPNext. We hope that it will be a great and fulfilling experience for you.
[2] https://docs.erpnext.com/docs/user/manual/en/introduction

