

Installing Odoo can be a complex task if you are not knowing the correct instructions in the correct order. A correct installation process requires a proper configuration of the environment, installation of dependencies, etc. The article will guide you through the complete procedure to install Odoo version 14 in Ubuntu 20.04. However, please feel free to try out the same instructions on Ubuntu 18.04 as well.
Prerequisites
OS: Ubuntu 20.x (e.g. 20.04)
Resources: 2-core CPU & 2GB of RAM
Access: SSH connection to the server
Permissions: a user with 'sudo' privileges
Note: you can execute all of the commands below from the root user, but for security purposes, it is recommended that you use a separate user with sudo privileges.
Step 1: Set-Up Repositories
Odoo requires a set of packages to make it work smoothly. Some of these packages are not readily available with Ubuntu. Hence, just in case, let’s add the required repositories to the Ubuntu package manager first.
sudo add-apt-repository universe
sudo add-apt-repository ppa:deadsnakes/ppa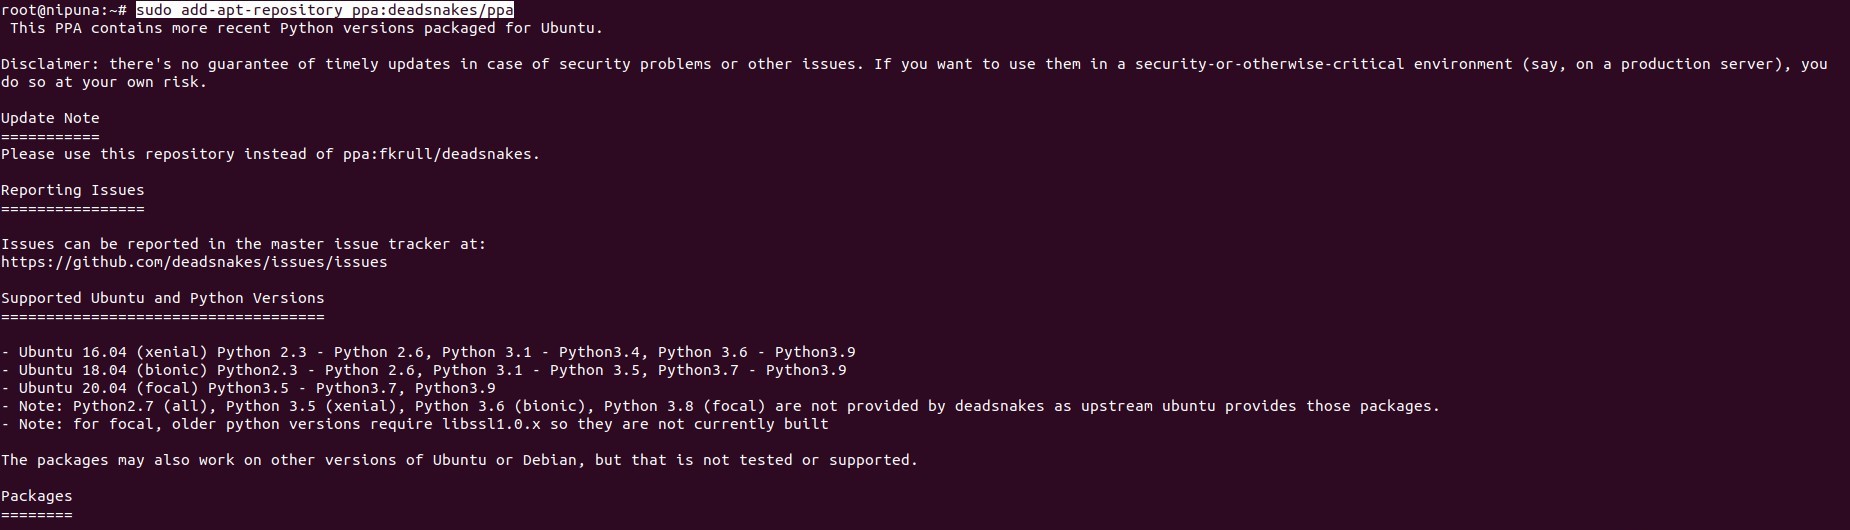
Step 2: Update Packages
Then let’s update existing Ubuntu packages and upgrade them into newer versions. Following commands will help you.
sudo apt-get update
sudo apt-get upgrade -y
Step 3: Create a Separate User for Odoo
To make things clean, we better create a new user for Odoo in the Ubuntu system.
sudo useradd -m -d /opt/odoo -U -r -s /bin/bash odooThe created ‘odoo’ user is assigned to the /opt/odoo directory. Hence the user will be able to operate within that directory only.
Step 4: Install Python 3.6
Then let’s install Python. When installing Python, make sure to install a 3.x version. Older versions won’t work with Odoo.
sudo apt install python3.6 python3.6-dev python3.6-venv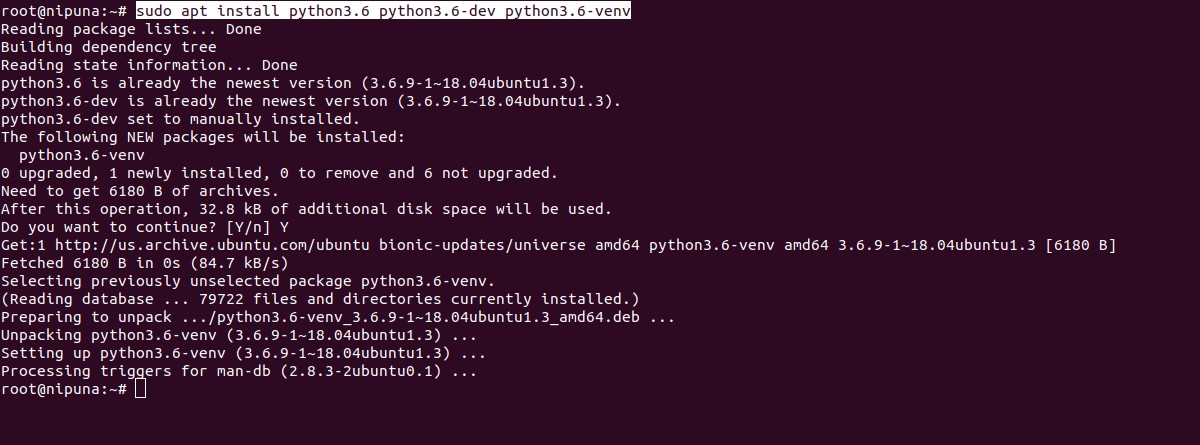
Step 5: Download Odoo 14
Now we are at the point of downloading Odoo.
Before proceeding, let’s switch to the user created in Step 3.
sudo su - odooThen we can download Odoo 14 into the /opt/odoo from the official Github repository.
git clone https://www.github.com/odoo/odoo --depth 1 --branch 14.0 /opt/odoo/odoo14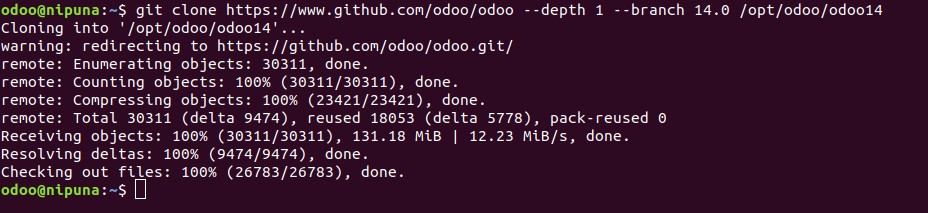
The /opt/odoo/odoo14 will work as the main directory for Odoo.
Odoo needs a set of software tools, dependency packages, and environment configuration in order to make it run. From now on, let’s how we can install and configure them.
Step 6: Set-up the Python Environment
First of all, let’s create a Python virtual environment for our Odoo instance.
cd /opt/odoo && python3 -m venv odoo14-venvThis will create a new folder called odoo14-venv inside the /opt/odoo folder. Now we can freely maintain a dedicated python environment with required modules without affecting the system.
Activate the virtual environment:
source odoo14-venv/bin/activateIn the created virtual environment, the library and module details are stored in the requirement.txt file by default. We can use it to install all the required modules in one command.
pip3 install -r odoo14/requirements.txt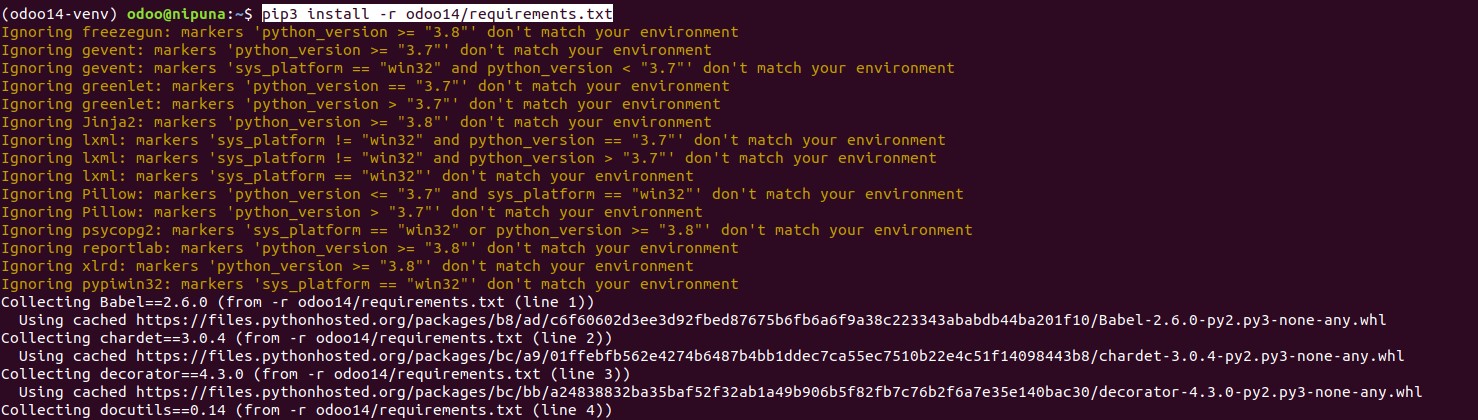
Deactivate and exit the virtual environment:
deactivate && exitStep 7: Create Directories for Custom Addons and Odoo Logs
Create custom addons folder:
sudo mkdir /opt/odoo/odoo14-custom-addonsMake the ‘odoo’ user the owner:
sudo chown odoo: /opt/odoo/odoo14-custom-addonsCreate a directory to store odoo logs:
sudo mkdir /var/log/odoo14Create an empty log file:
sudo touch /var/log/odoo14/odoo.logMake the ‘odoo’ user the owner of it as well:
sudo chown -R odoo: /var/log/odoo14/Step 8: Install PostgreSQL
Odoo uses PostgreSQL to store user and application data. So let’s install it and create a new database user.
sudo apt-get install postgresql -y
sudo su - postgres -c "createuser -s odoo"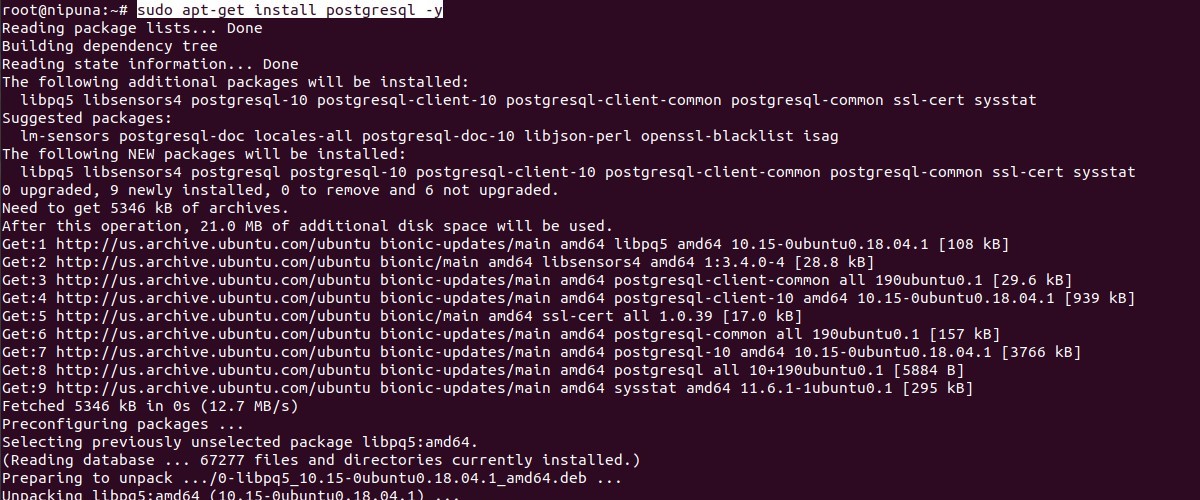
Step 9: Install Odoo Dependencies
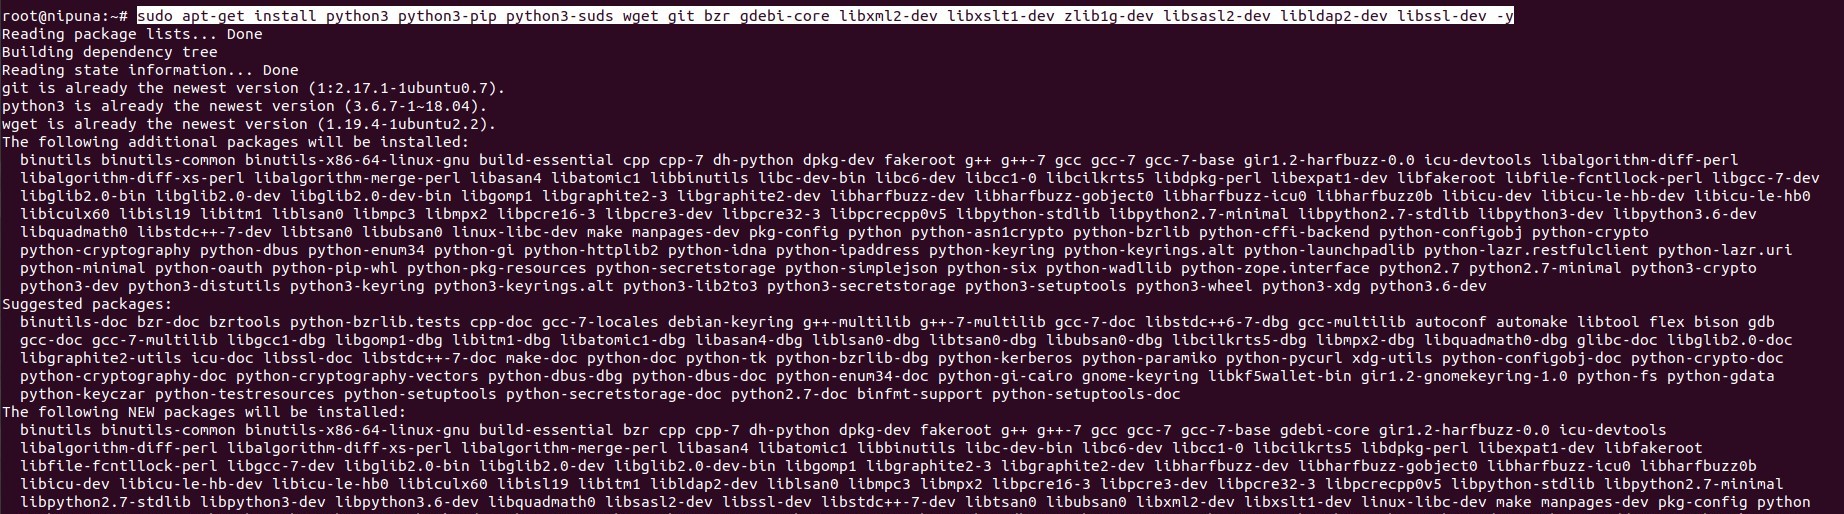
There are more packages that need to be installed which are necessary.
sudo apt-get install python3 python3-pip python3-suds wget git bzr gdebi-core libxml2-dev libxslt1-dev zlib1g-dev libsasl2-dev libldap2-dev libssl-dev -yInstall additional packages:
sudo apt-get install node-clean-css node-less git -yYou will see something similar to the below.
Step 10: Install Wkhtmltopdf and Its Dependencies
Wkhtmltopdf is an additional package that we can use with Odoo. It comes in handy when generating PDF reports. It’s better if we have it installed now.
The Wkhtmltopdf package has a couple of dependencies that can be installed using the following commands.
sudo apt-get install libjpeg-turbo8 libjpeg-turbo8 libxrender1 xfonts-75dpi xfonts-base -y
sudo apt-get install fontconfig
sudo apt-get install -f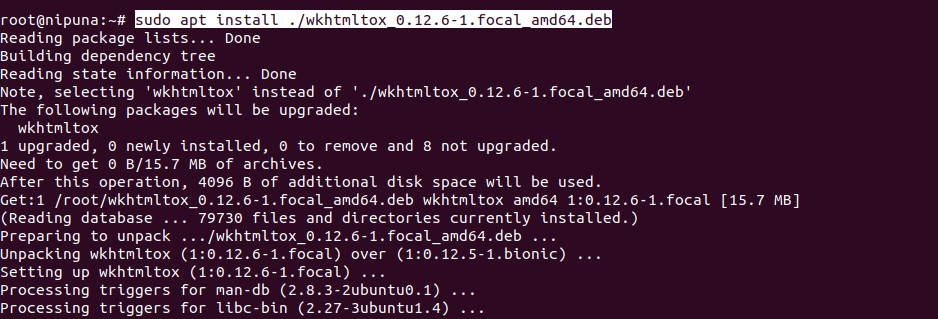
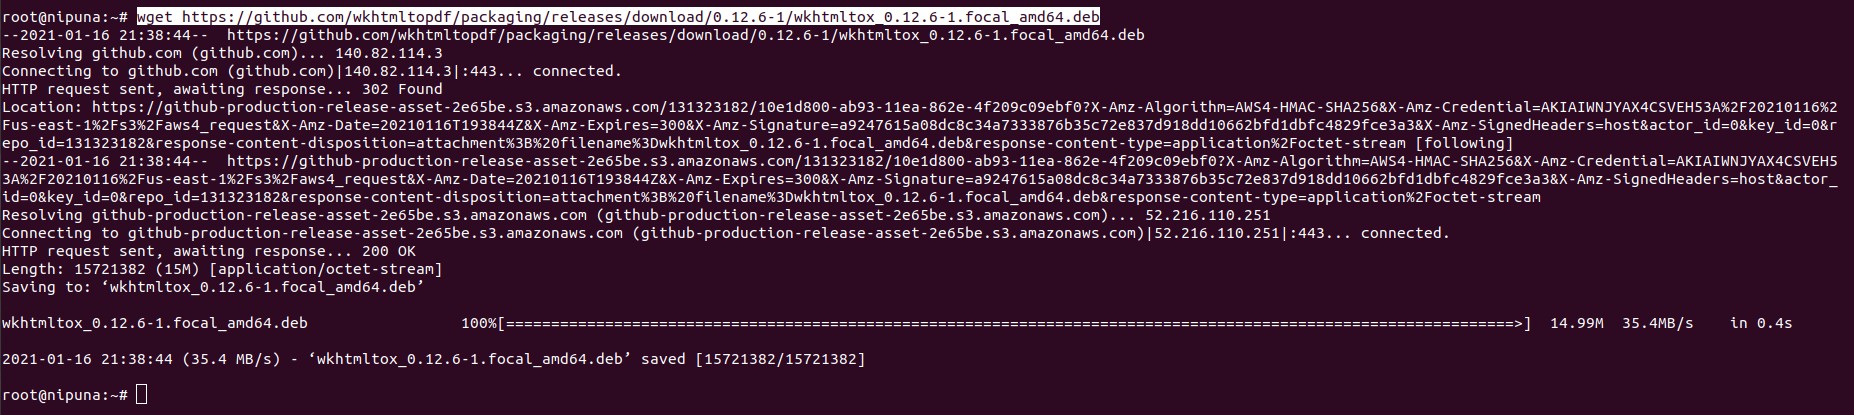
Since Wkhtmltopdf doesn’t have an official repository, let’s download it first from Github.
wget https://github.com/wkhtmltopdf/packaging/releases/download/0.12.6-1/wkhtmltox_0.12.6-1.focal_amd64.deb
And then install using the command:
sudo apt install ./wkhtmltox_0.12.6-1.focal_amd64.deb
Then let’s point Ubuntu to the installed packages:
sudo ln -s /usr/local/bin/wkhtmltopdf /usr/bin
sudo ln -s /usr/local/bin/wkhtmltoimage /usr/bin
Step 11: Configure the Odoo Instance
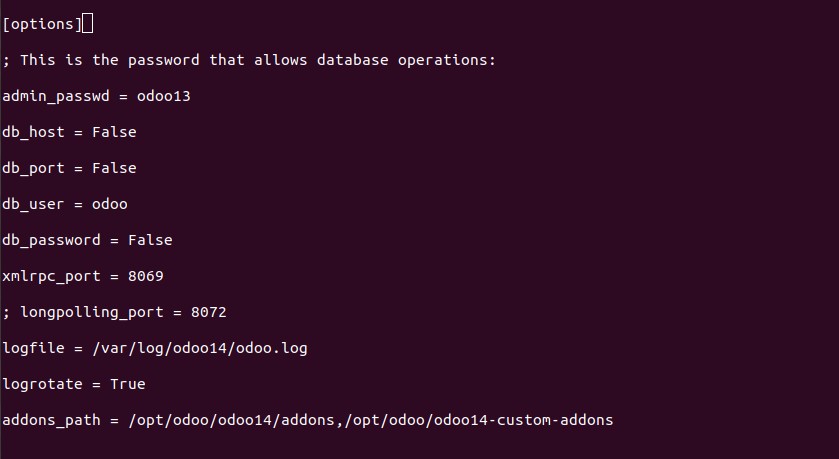
Let’s create a configuration file odoo.conf to store settings and preferences for the Odoo instance.
Open the file:
sudo nano /etc/odoo.confCopy the following content:
[options]
; This is the password that allows database operations:
admin_passwd = master_password
db_host = False
db_port = False
db_user = odoo
db_password = False
xmlrpc_port = 8069
; longpolling_port = 8072
logfile = /var/log/odoo14/odoo.log
logrotate = True
addons_path = /opt/odoo/odoo14/addons,/opt/odoo/odoo14-custom-addons
You don’t have to make many changes. But make sure to change the master_password into a more secured value which will be used as your main Odoo password.
Make the ‘odoo’ user the owner of this file as well:
sudo chown odoo:odoo /etc/odoo.confAnd then provide required file permissions:
sudo chmod 640 /etc/odoo.confStep 12: Create the systemd Configuration File
Creating a specific systemd file in the Ubuntu environment allows you to run Odoo as a service in the background. It will provide an easy way to start/stop the Odoo instance and do health checks.
First, we need to create a .service file in the /etc/systemd/system folder of Ubuntu.
sudo nano /etc/systemd/system/odoo14.serviceThen copy and paste the below test into it.
[Unit]
Description=Odoo14
#Requires=postgresql-10.6.service
#After=network.target postgresql-10.6.service
[Service]
Type=simple
SyslogIdentifier=odoo14
PermissionsStartOnly=true
User=odoo
Group=odoo
ExecStart=/opt/odoo/odoo14-venv/bin/python3 /opt/odoo/odoo14/odoo-bin -c /etc/odoo.conf
StandardOutput=journal+console
[Install]
WantedBy=multi-user.target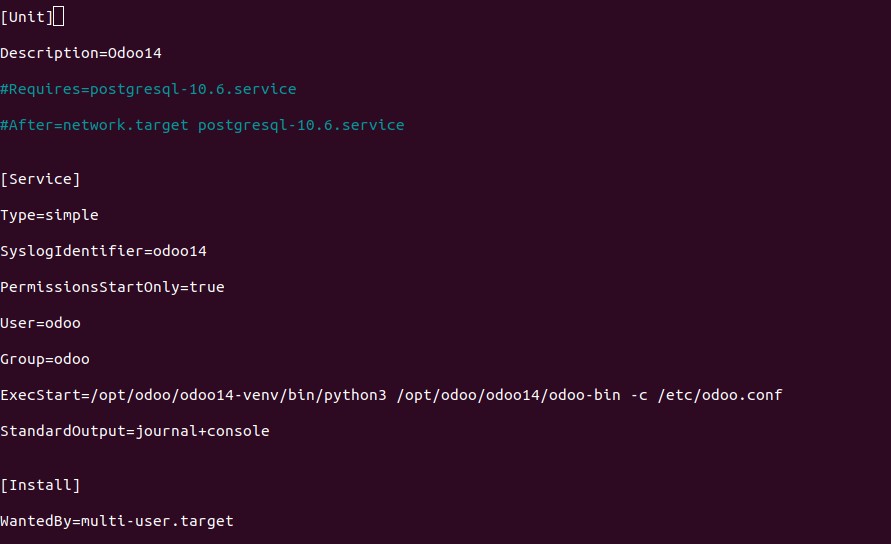
If you followed exact instructions, then no changes are needed. However, please make sure you have pointed to the correct python directory, configuration file, and username.
Step 13: Start Odoo and Activate the Service
If all the things are set in place, then we can use the newly created service to start the Odoo instance.
sudo systemctl start odoo14.serviceEnable the Odoo service for it to run by default.
sudo systemctl enable odoo14.serviceYou can check whether the Odoo service is up and running by the following command.
sudo systemctl status odoo14.service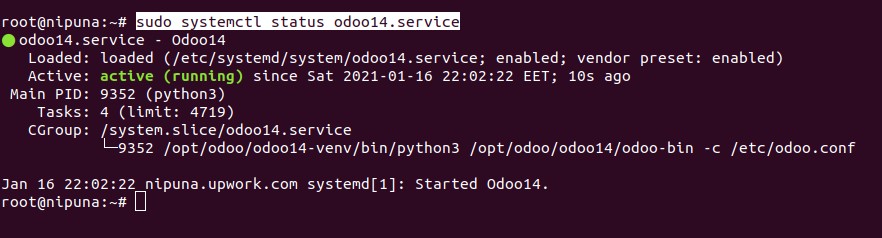
Step 14: Access the Odoo Graphical User Interface
We are all set.
Now we can access the Odoo GUI by accessing its home page.
http://{ip_address}:8069Please make sure to give your server’s IP address.
If you have followed the given instructions correctly, you will be presented with the Odoo starting screen.
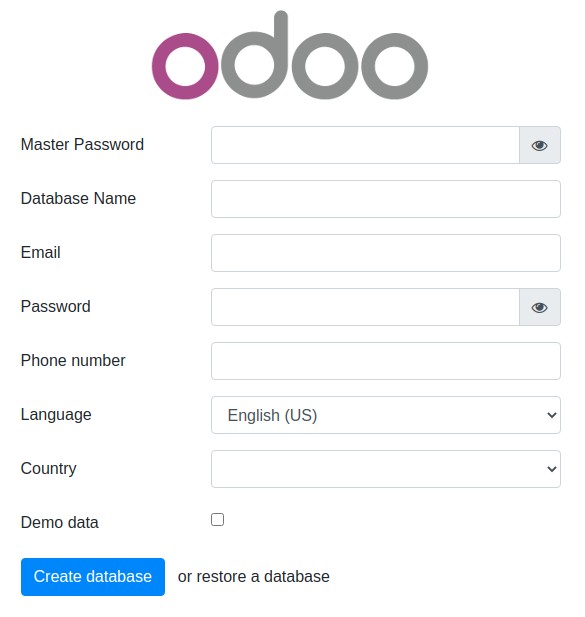
That’s it then. Welcome to the world of Odoo.

