

This article will outline how to install the R1Soft backup agent for Windows manually.
Step1: Download the R1Soft Windows Backup Agent. You need to have registered as an R1Soft customer to access the Server Backup Manager downloads. Go to this link to log in to the R1Soft customer portal. Navigate to the "Latest Product Downloads" page and go to the "Backup Agent" product group. Click on 32-bit (x86) for 32-bit binary hardware/OS or click 64-bit (x86_64/AMD64) for 64-bit binary hardware/OS depending on your OS. Download the corresponding file i.e. "ServerBackup-Enterprise-Agent-win32.zip" for a 32-bit system or "ServerBackup-Enterprise-Agent-win64.zip" for a 64-bit system.
Step 2: Log on to the Windows server as a member of the local Administrators group. Make sure the "Log On as Service" permission is enabled for this user to be able to automatically start the Backup Agent service.
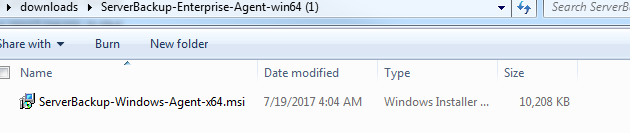
Step 3: Extract the downloaded archive to your desired folder and navigate to that folder so you can see the installer file as shown below.
 Step 4: Run the installer file by double-clicking on it and wait for the installer to run as seen below.

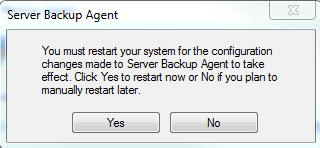
Step 5: Choose to restart the system when you see the following prompt when the installer has finished extracting the installation files. The backup agent will not work until the system is restarted.
Congratulations! You have successfully installed the R1Soft Windows backup agent. You can add an encryption key to the agent to secure the connections to the Server Backup Manager. To do this, see this article

