

This article outlines how to restore a Microsoft Exchange 2007 storage group or database previously backed up by R1Soft Server Backup to an alternate location. On the computer that has the Exchange Management Console installed, the user account you use for the restoration process has to be a member of the local Administrator group on the computer on which you are restoring the database. Furthermore, the database you are restoring should not be currently mounted.
Step 1: Click on "Recovery Points" in the Main Menu to open the "Recovery Points" window.
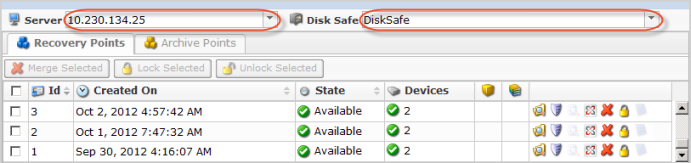
Step 2: On the list of recovery points shown below, select a Server where MS Exchange is installed and the appropriate Disk Safe to restore from on the drop-down lists.
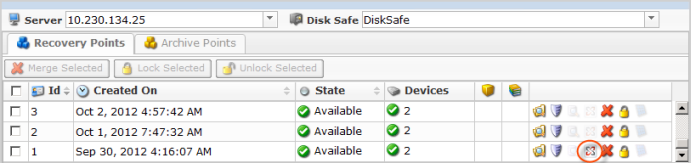
Step 3: Select the Recovery Point to restore from and click on the "Exchange" icon in the "Actions" column for this Recovery Point as shown below.
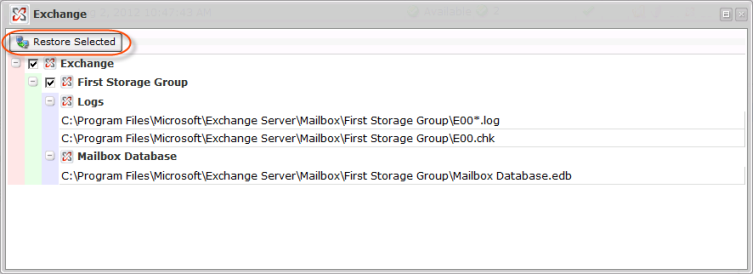
Step 4: On the "Exchange" screen shown below, click on the "Exchange" check-box to select the entire instance. You can click on the "Plus" icon to expand an item in the tree

Step 5: Choose the specific database you want to restore.
Step 6: Once the necessary database is selected, click on the "Restore Selected" button shown below.
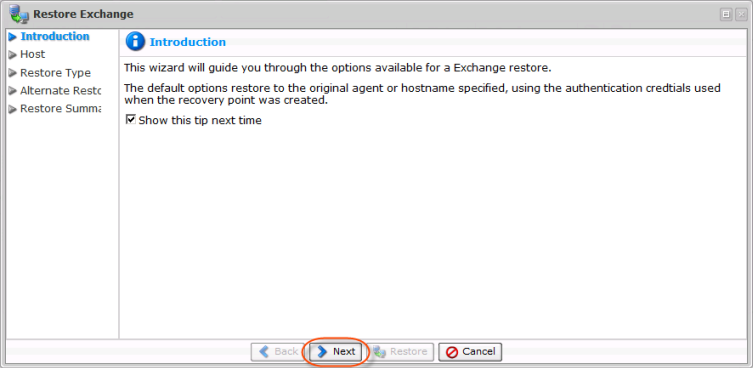
Step 7: The "Restore Exchange " screen will be displayed as below. Click on the "Next" button to proceed to the "Host" screen.
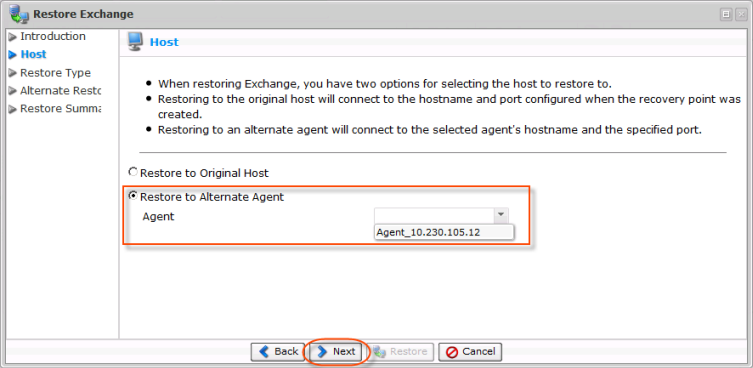
Step 8: On the "Host" screen shown below, you can select one of the following options:
- Restore to Original Host - Connects to the hostname and port configured when the Recovery Point was created.
- Restore to Alternate Agent - Connects to the specified hostname and port.
This article covers restoration to an alternate location. Select the second option. Click on the "Next" button to proceed to the "Restore Type" screen
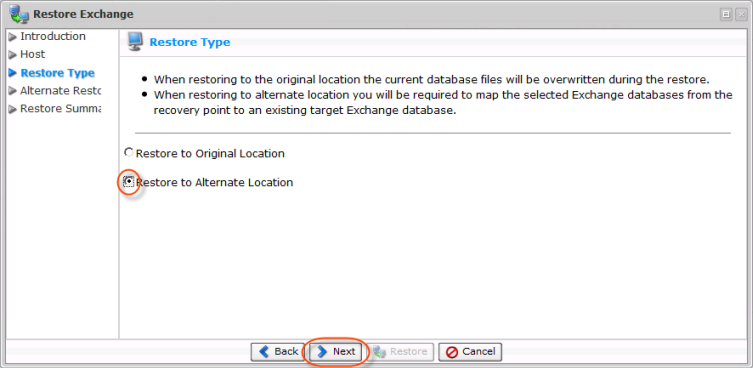
Step 9: On the "Restore Type" screen shown below, select one of the following options:
- Restore to Original Location - The current database files will be overwritten during the restoration.
- Restore to Alternate Location - This option requires mapping the selected Exchange databases from the Recovery Point to the existing target Exchange databases.
In our example, we choose the "Restore to Alternate Location" option, as we are later going to attach files to an Exchange Recovery Group. Click on the "Next" button to proceed to the "Alternate Restore" screen.
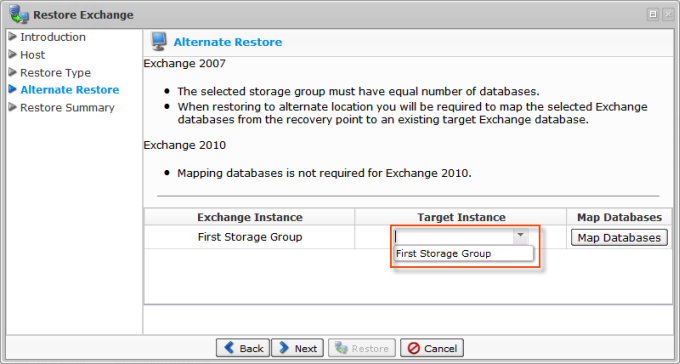
Step 10: On the "Alternate Restore" screen shown below, choose an alternate restoration location. The selected Storage Group must have the same number of databases.
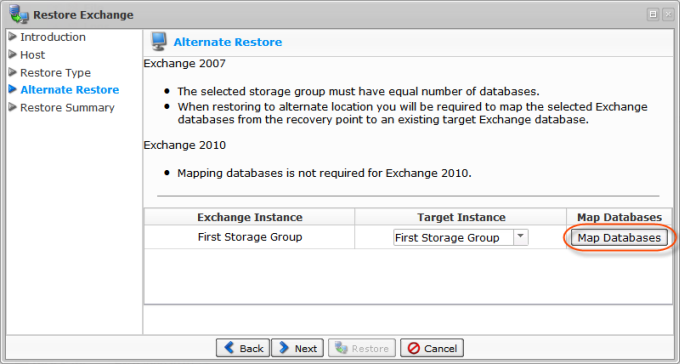
Step 11: Click the "Map Databases" button shown below to map the selected Exchange databases from the recovery point to the existing target Exchange databases.
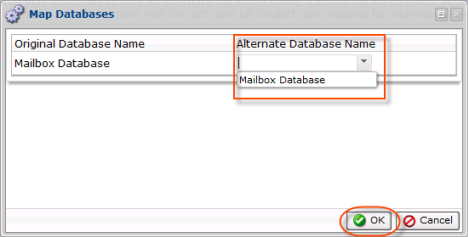
Step 12: On the "Map Databases" screen shown below, choose the Alternate Database Name and click the "OK" button. Then click on the "Next" button to proceed to the "Restore Summary" screen.
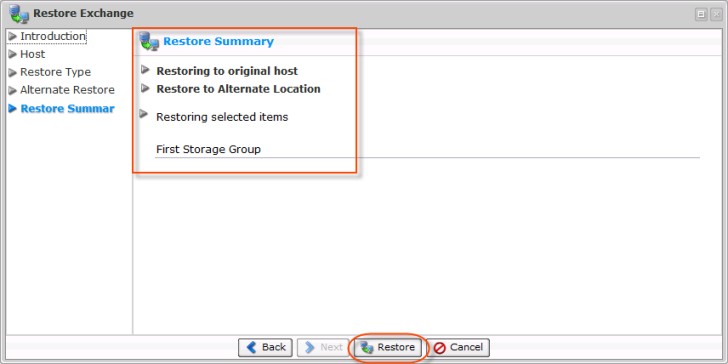
Step 13: On the "Restore Summary" screen shown below, verify if the selected settings displayed are correct, and then click the "Restore" button.
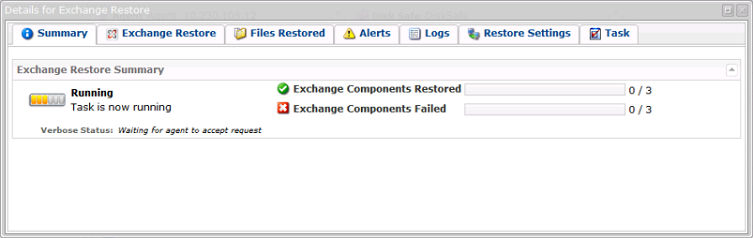
Step 14: After clicking the "Restore" button, you will see a running process bar as shown below.
Step 15: If there are not any errors, you will see information about the successfully completed restoration process as shown below.
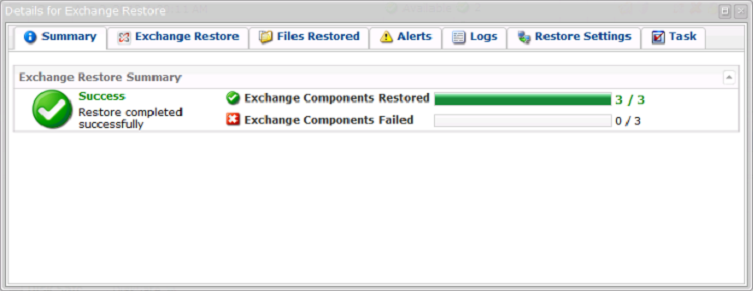
Congratulations! You have successfully restored an MS Exchange 2007 Storage Group with R1Soft to an alternate Location

