

This article will outline how to back up Microsoft SQL Server databases with Acronis Cyber Protect. This process assumes that you have a dedicated Windows server with an MSSQL Server and SQL Server Management Studio installed. You should be able to log in to this server remotely via RDP(Remote Desktop Protocol). You also need an Acronis Cyber Protect subscription.
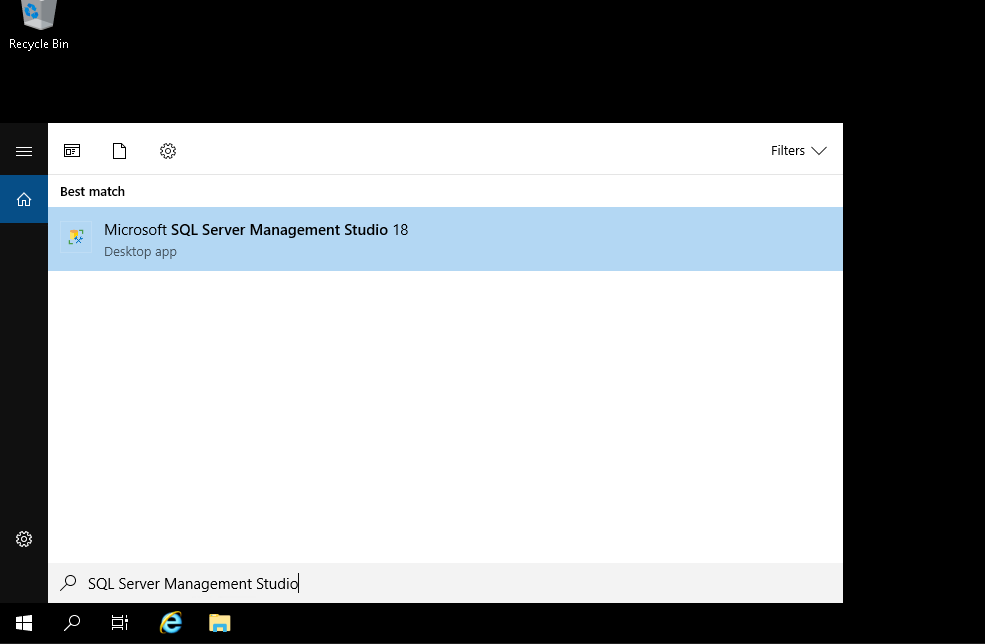
On the SQL Server Management Studio, you need to provide the system user(sysadmin) server-wide security privileges. To do this, you will first log in to the remote server via RDP and launch the SQL Server Management Studio. This can be done by searching for the studio in the Windows search as shown below.
When the SQL Server Management Studio launches, you will see a prompt to connect to an SQL server as below. On this prompt, fill out the form with the relevant server information. For this instance, we are connecting using Windows Authentication.
![]()
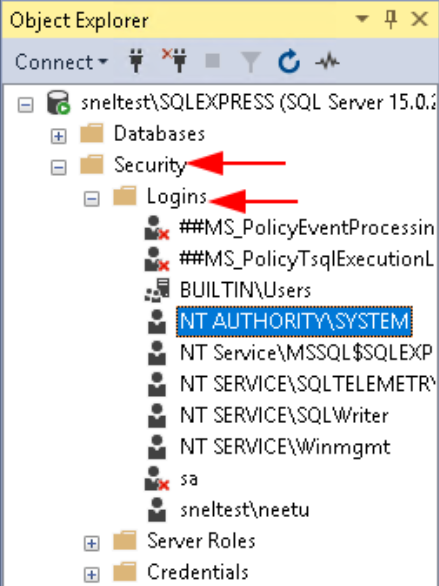
On the object explorer seen on the left-hand side of the page, expand the "Security" folder and then the "Login" folder under it. Then double-click on "NT AUTHORITY\SYSTEM" to open its properties as shown below.
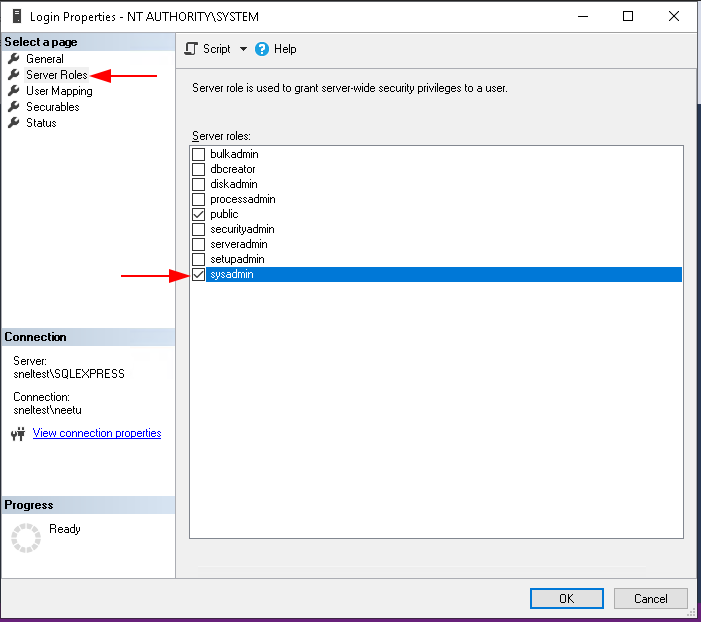
On the left-hand side panel, select the "Server Roles" page then enable the sysadmin role as shown below. Now click on "OK" at the bottom of the page. You have now granted the sysadmin user administrative privileges on the SQL server.
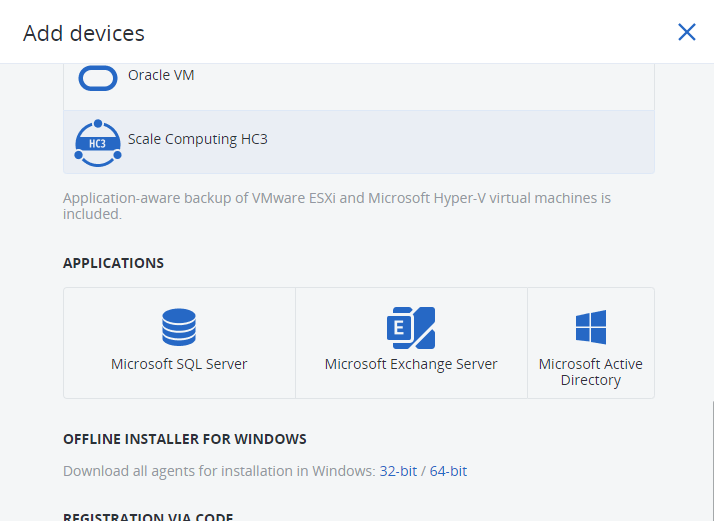
Now we need to log in to our Acronis Cyber Protect console and get the Acronis agent for Microsoft SQL Server to install into our server. Installation of Acronis Windows agent is covered in this article. The installation of the Microsoft SQL Server is a very similar process. Navigate to the Devices page in the Acronis console and download the Microsoft SQL Server agent from the "Add Device" interface as shown below. Then proceed to install the agent on the MS SQL Server and register the device in Acronis so that the server shows up on the list of devices within the Acronis console. You will also notice a new menu item on the left-hand sidebar of the Acronis console sidebar called Microsoft SQL.
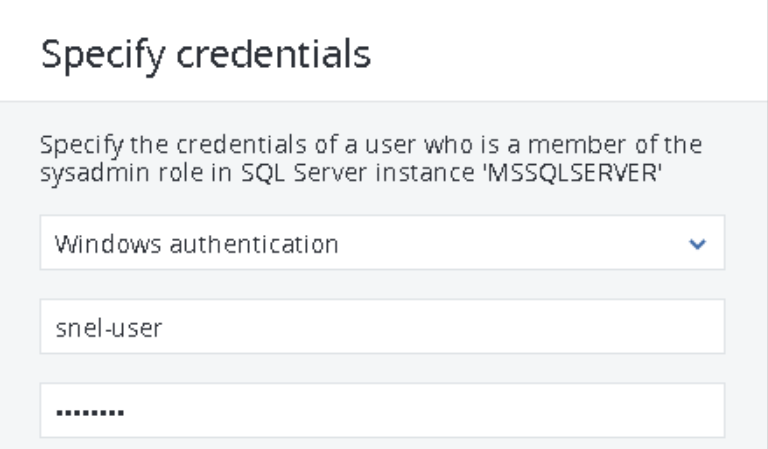
To enable backup for your SQL Server, click on the "Microsoft SQL" menu item on the Acronis sidebar and select your server instance from the list. You will see a prompt to log in to your SQL server. Provide your Windows login credentials to proceed.
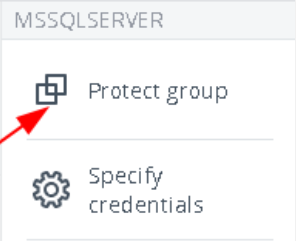
After authentication, you will have the option to backup all databases at once or to back them up individually. To back up all the databases at once, select the server but don't select any database. On the top right-hand side of the page, click on the "Protect Group" button as shown below.
You can now proceed to create a protection plan for the SQL Server and click on the "Apply" button. Creation and modification of protection plans within Acronis is covered in this article. Congratulations! You have successfully installed a protection agent in your Microsoft SQL Server and enabled protection for your databases.

