

The ERPNext is a trending ERP software for small to medium-sized businesses. It comes with highly user-friendly operations. The following article is all about configuring an Ubuntu system for ERPNext and getting it up and running smoothly. The process is not overly complex, but there can be some areas where you might need guidance. Here, we have presented clear step-by-step guidelines to ensure a smooth installation experience..
Before starting, make sure you have the following prerequisites:
- Minimum of 2GB RAM
- Two or more CPU cores
- Ubuntu 20.04 installation
- Full root access
Nowadays, it is hard to find a server with less than 2GB RAM and two cores of CPU. So we guess you will do just fine.
If all the things are in place, let’s get things started.
First, let’s break down the process into more manageable steps.
Step1: Update the Ubuntu system
Before starting, it is always a good idea to update system packages to their latest versions.
apt-get update -y
apt-get upgrade -y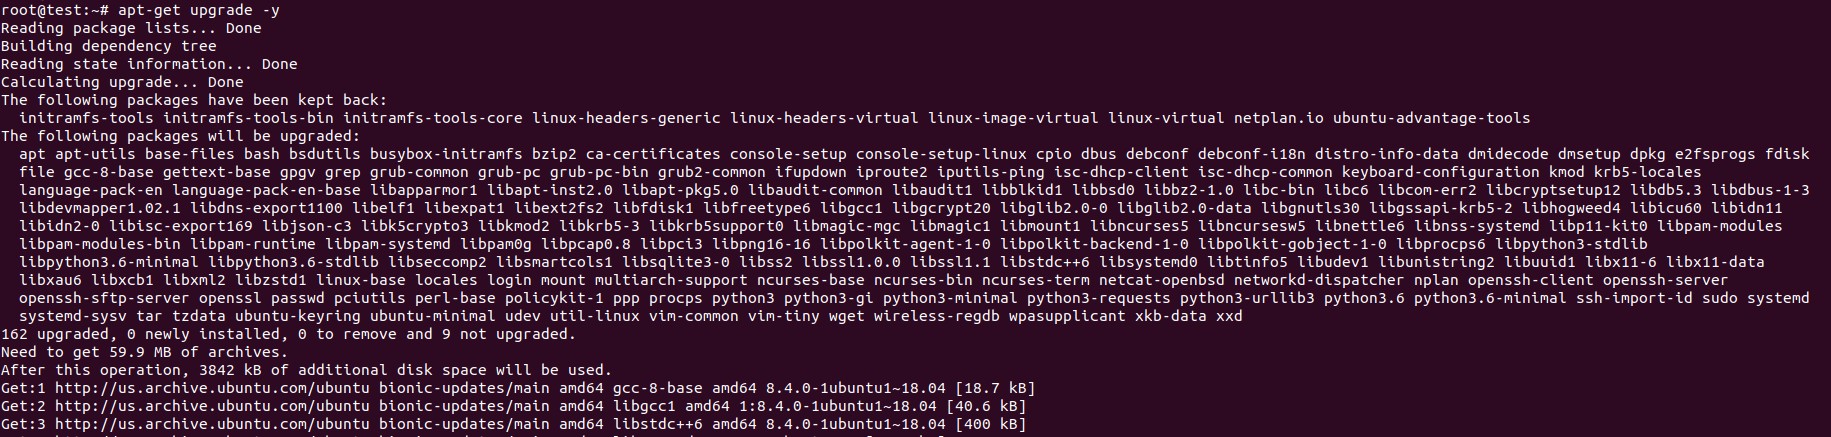
Step2: Install Required Dependencies
Here you have to install Python and other dependency packages needed to configure ERPNext:-
apt-get install libffi-dev python3-pip python3-dev python3-testresources libssl-dev wkhtmltopdf gcc g++ make -y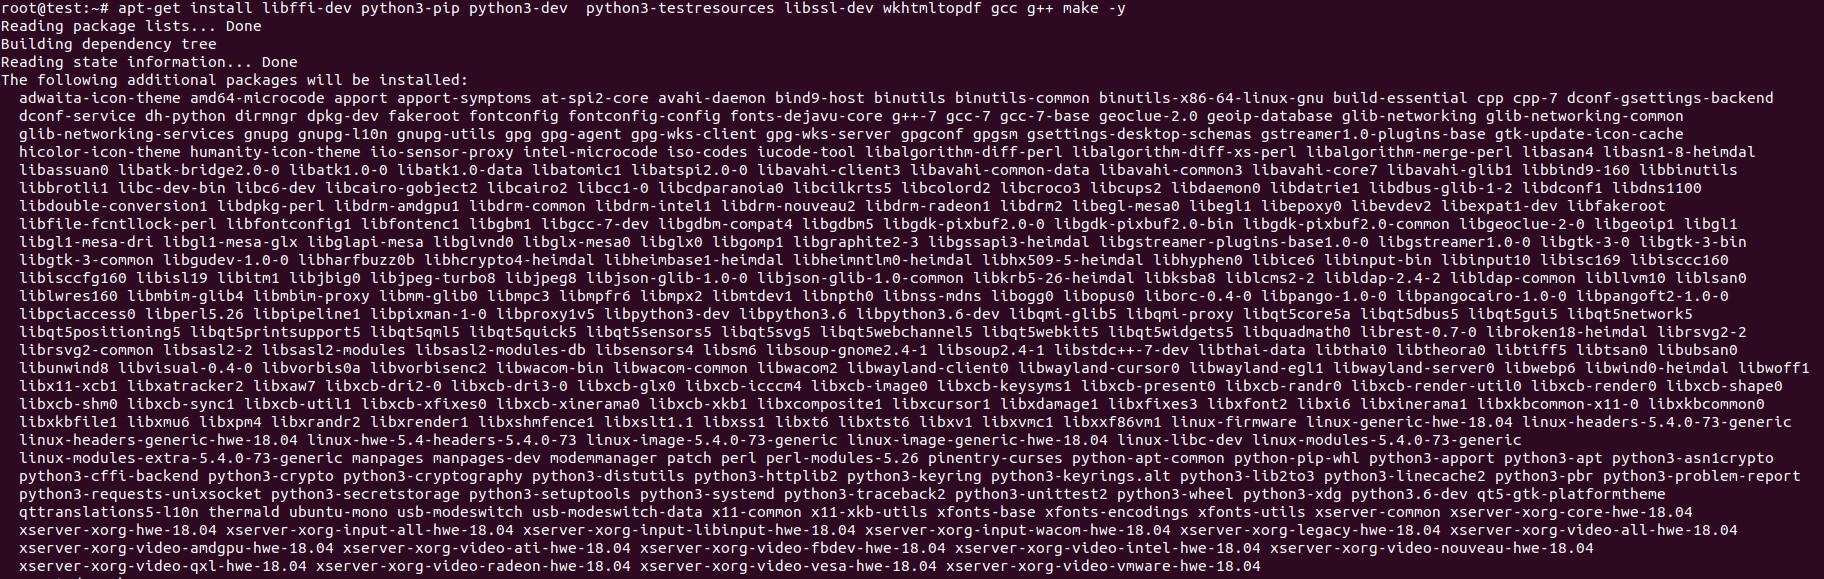
Step3: Install NodeJS
How does NodeJS come into play here?
The ERPNext uses NodeJS for its frontend operations. Hence it is better to have it installed at this step.
First, let’s add the NodeJS repository using the below command:
curl -sL https://deb.nodesource.com/setup_12.x | bash -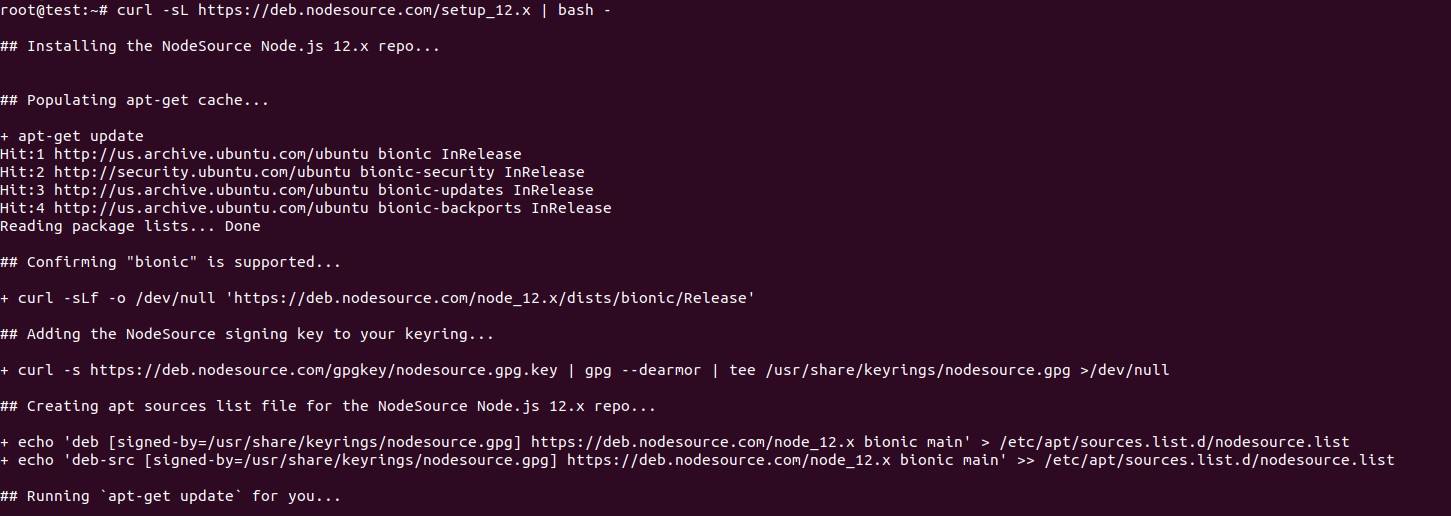
Once the repository is added, you can run the following command to install Node.js and Redis server in your system.
apt-get install nodejs redis-server -y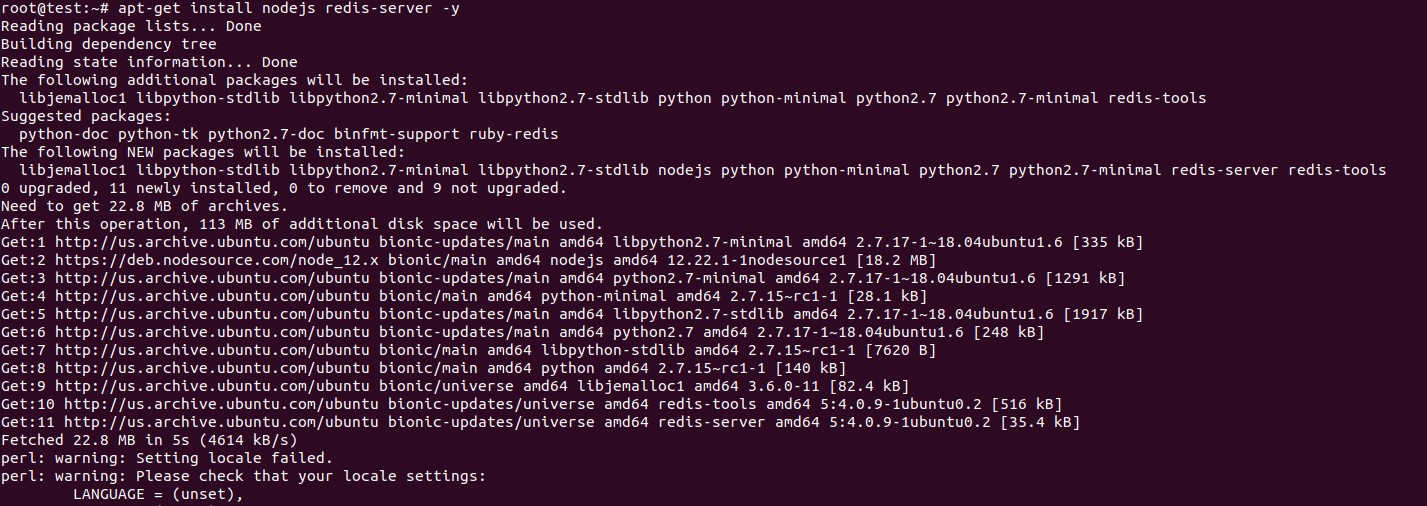
Once both packages are installed, you can verify the Node.js version using the following command:
node --versionYou will get a result similar to the below:
V12.22.1Then, let’s install yarn packages by running the below command:
npm install -g yarn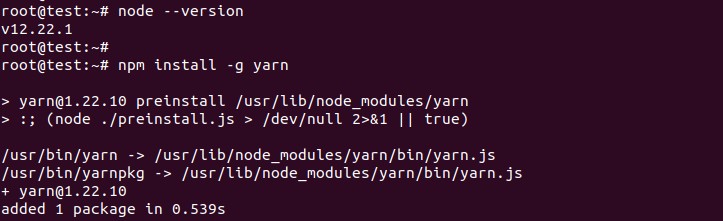
Step4: Install and Configure MariaDB
You can install the MariaDB server by using the following command:
apt-get install mariadb-server mariadb-client -y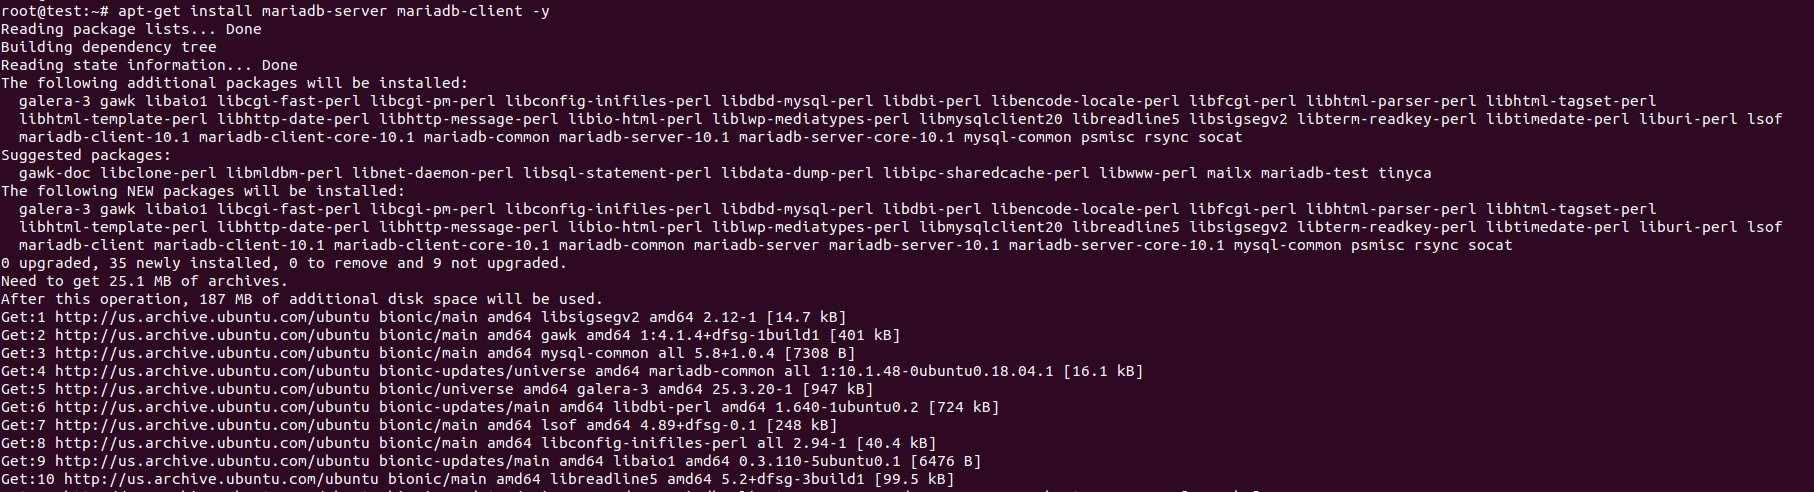
Then let's secure the MariaDB and set the root password using the following command:
mysql_secure_installationYou will have to answer the below questions that will come after executing the above command.
Enter current password for root (enter for none): Press your [Enter] key, there is no password set by default
Set root password? [Y/n] Y
New password:
Re-enter new password:
Remove anonymous users? [Y/n] Y
Disallow root login remotely? [Y/n] Y
Remove test database and access to it? [Y/n] Y
Reload privilege tables now? [Y/n] Y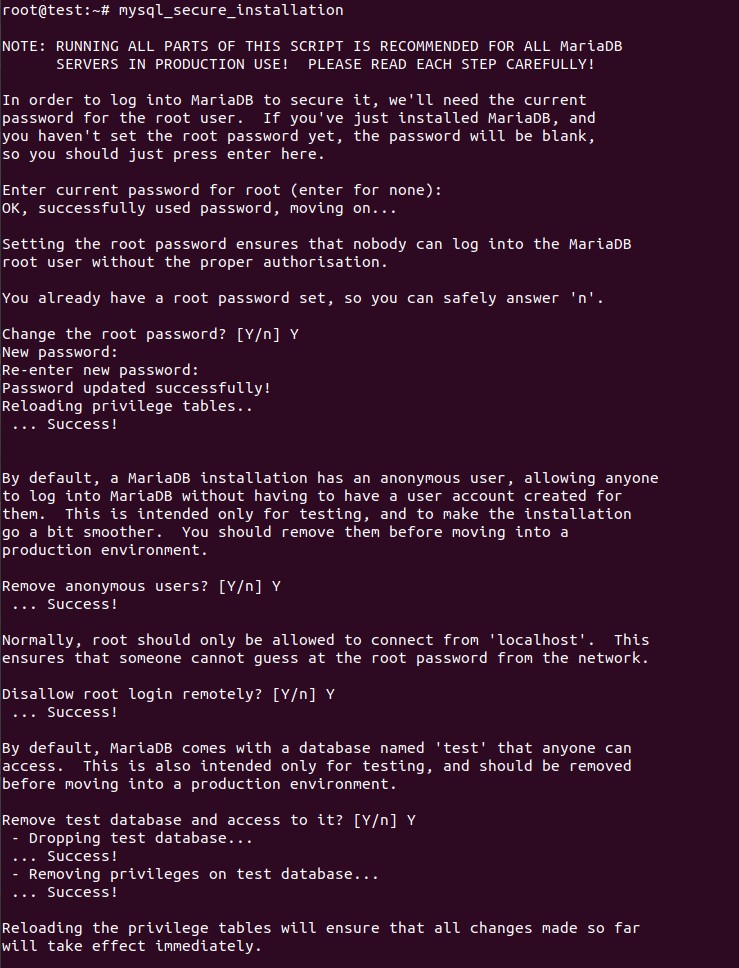
Here you can set the root password for the MariaDB server. Then provide the suggested answers for each question to make things more secure.
Once the MariaDB is secured, we can log in to the MariaDB console with the following command:
mysql -u root -pMake sure to provide the correct root password.
Then, change the MariaDB authentication plugin with the following command:
MariaDB [(none)]>USE mysql;
MariaDB [(none)]>UPDATE user SET plugin='mysql_native_password' WHERE User='root';
Next, flush the privileges and exit from the MariaDB shell with the following command:
MariaDB [(none)]> FLUSH PRIVILEGES;
MariaDB [(none)]> EXIT;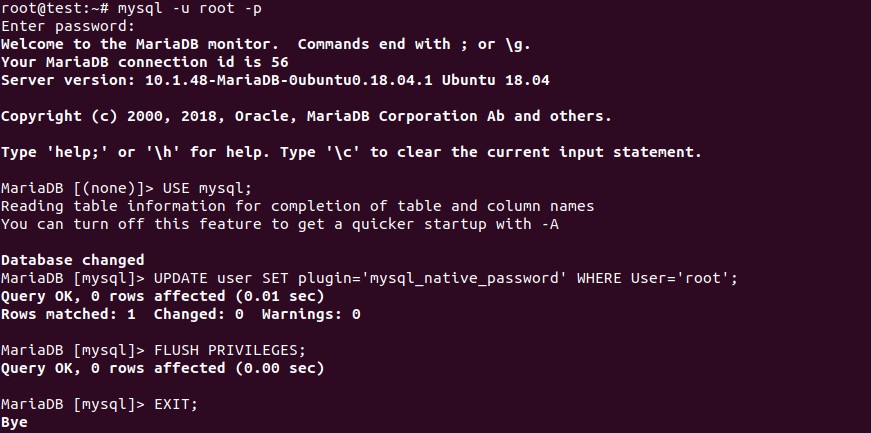
Next, the MariaDB InnoDB file format needs to be changed to Barracuda. You can configure it via the configuration file /etc/mysql/mariadb.conf.d/50-server.cnf:
nano /etc/mysql/mariadb.conf.d/50-server.cnfAdd below lines at the end of the file.
[mysqld]
innodb-file-format=barracuda
innodb-file-per-table=1
innodb-large-prefix=1
character-set-client-handshake = FALSE
character-set-server = utf8mb4
collation-server = utf8mb4_unipre_ci
[mysql]
default-character-set = utf8mb4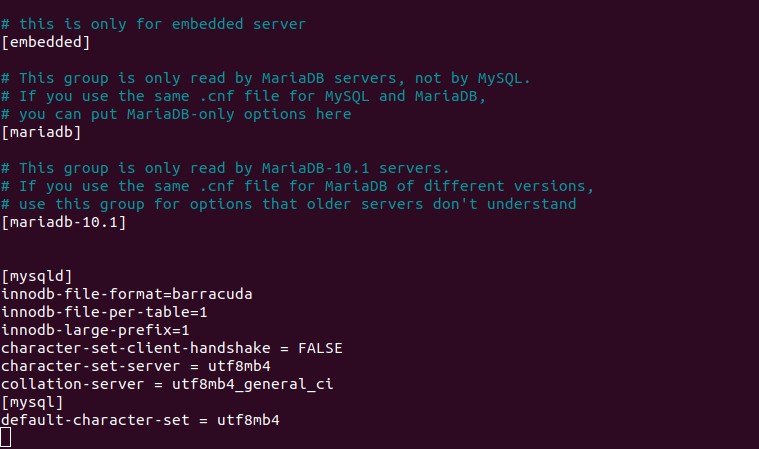
Save and exit the file. Then restart the MariaDB service to make changes affect:
systemctl restart mariadbYou can check the status of the MariaDB service by using the below command:
systemctl status mariadb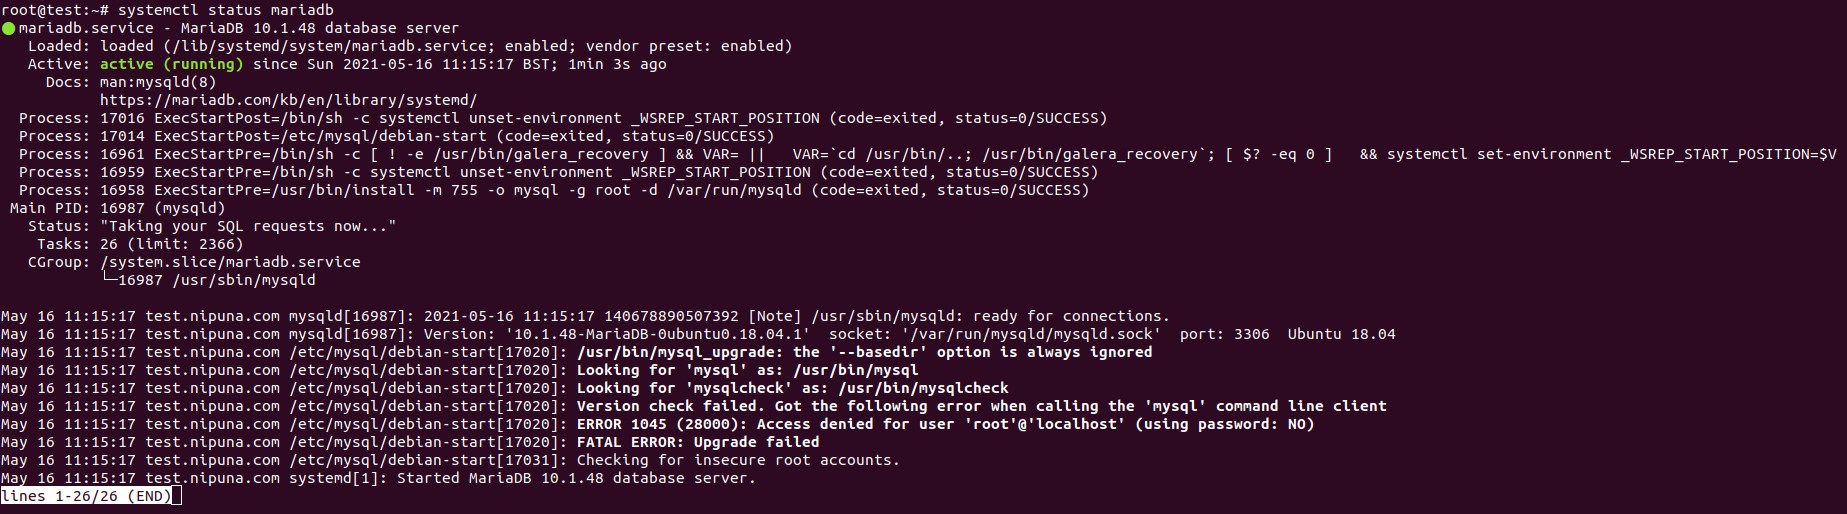
Step5: Create a User for ERPNext
Let’s create a user dedicated to the ERPNext. Here I named the user as ‘test’.
useradd -m -s /bin/bash testThen you can set the password using:
passwd testIt is important to give the user ‘test’ with sudo privileges so that it will ease some of our troubles.
usermod -aG sudo testNext, let’s log into the ERPNext user ‘test’ and set up the environment variables. Use the following commands for login and open the configuration file.
su - test
nano ~/.bashrc
Then add the following line at the end.
PATH=$PATH:~/.local/bin/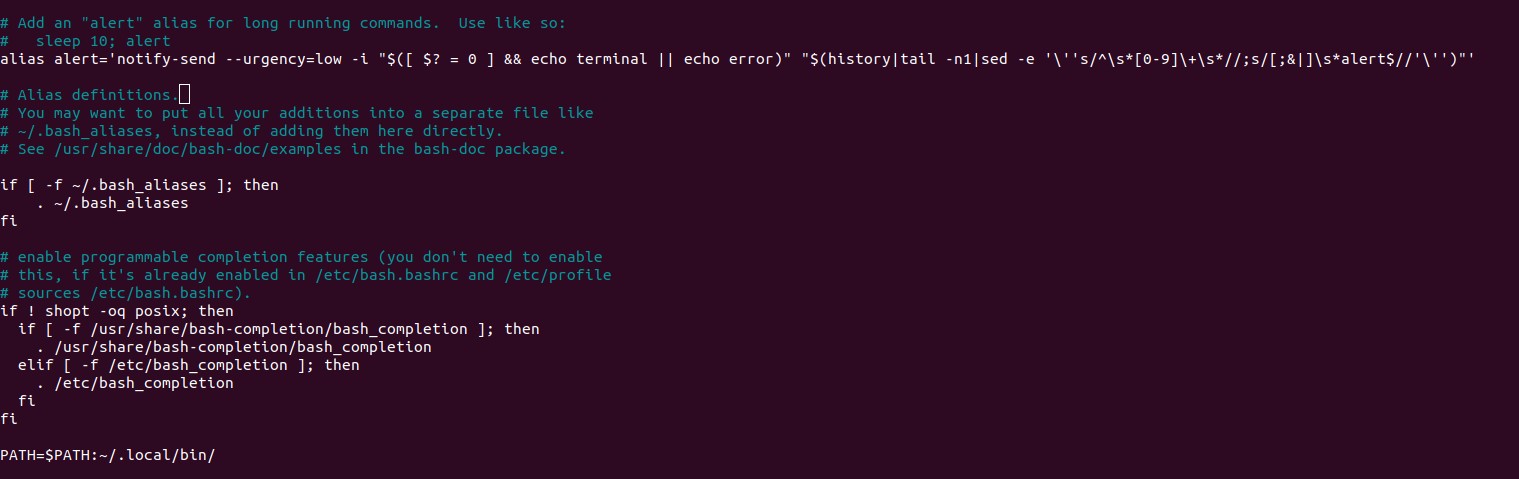
After saving changes, we have to make the above changes make an effect in the Ubuntu environment. You can either restart the server or easily use the below command without restarting:
Step6: Install ERPNext
As of step 6, you have to install and configure ‘bench’ to manage the ERPNext in your Ubuntu environment.
For that, first, log in using the dedicated ERPNext user and create a new directory for the ERPNext setup.
su - test
sudo mkdir /opt/bench
Then change the ownership to the ‘test’ user.
sudo chown -R test:test /opt/benchChange the directory to the newly created /opt/bench directory and clone the bench Git repository to it.
cd /opt/bench
git clone https://github.com/frappe/bench bench-repo
This will download the repository to a directory called ‘bench-repo’. Then install the bench repo using the below command:
pip3 install -e bench-repo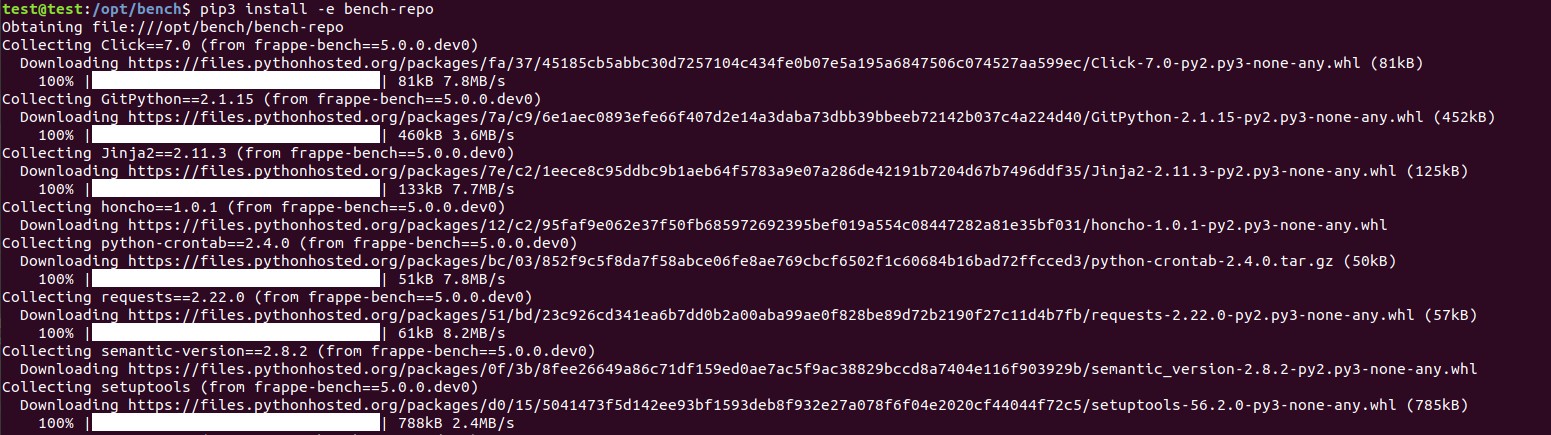
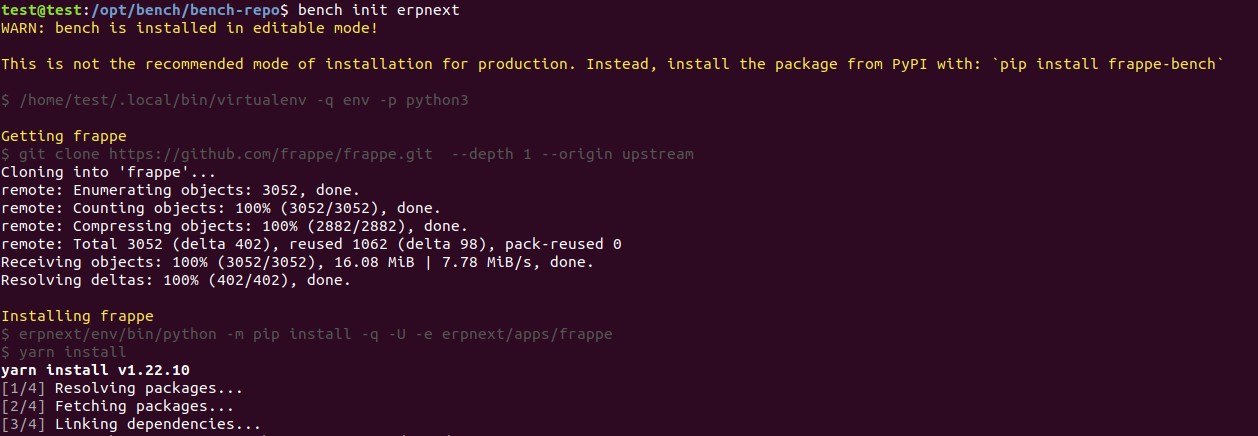
After the installation process, we can initialize the bench with the Frappe framework. Navigate to the above-created bench-repo directory and run the initialize process using the below command:
bench init erpnextYou will start to see an output as below.
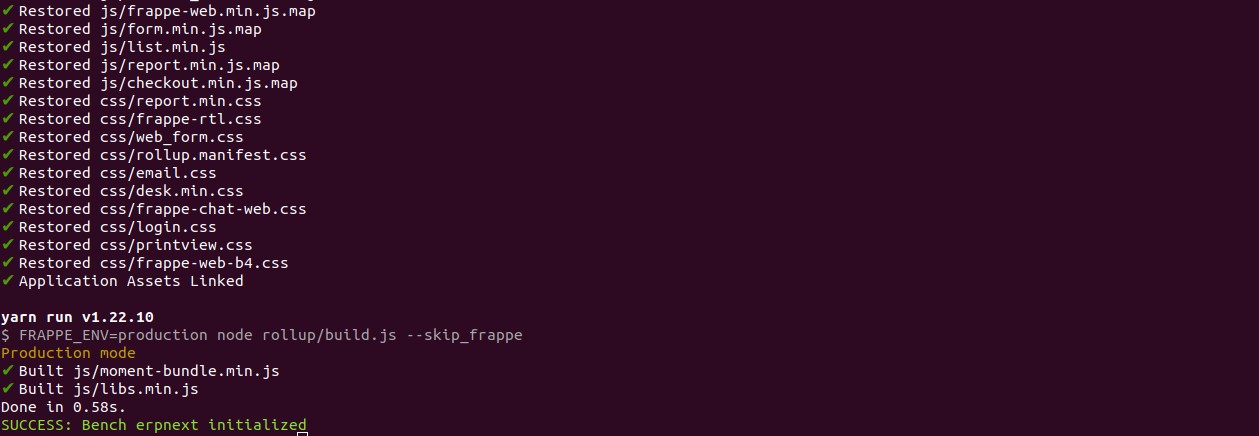
If everything went correctly, here is what you will get at the end.
Now we can create our new ERPNext site using the bench. For that, change the directory to the ‘erpnext’ and create a new site using the below command:
bench new-site erpnext.test.comIf you are already having a registered domain name please feel free to use it.
Here you will be asked to enter the MariaDB root password which was configured previously. Provide the correct password and hit Enter to continue with the installation process.

You will be asked to set an administrator password. Please make sure to remember it because we will need it later.
Now you are all set to start the bench service.
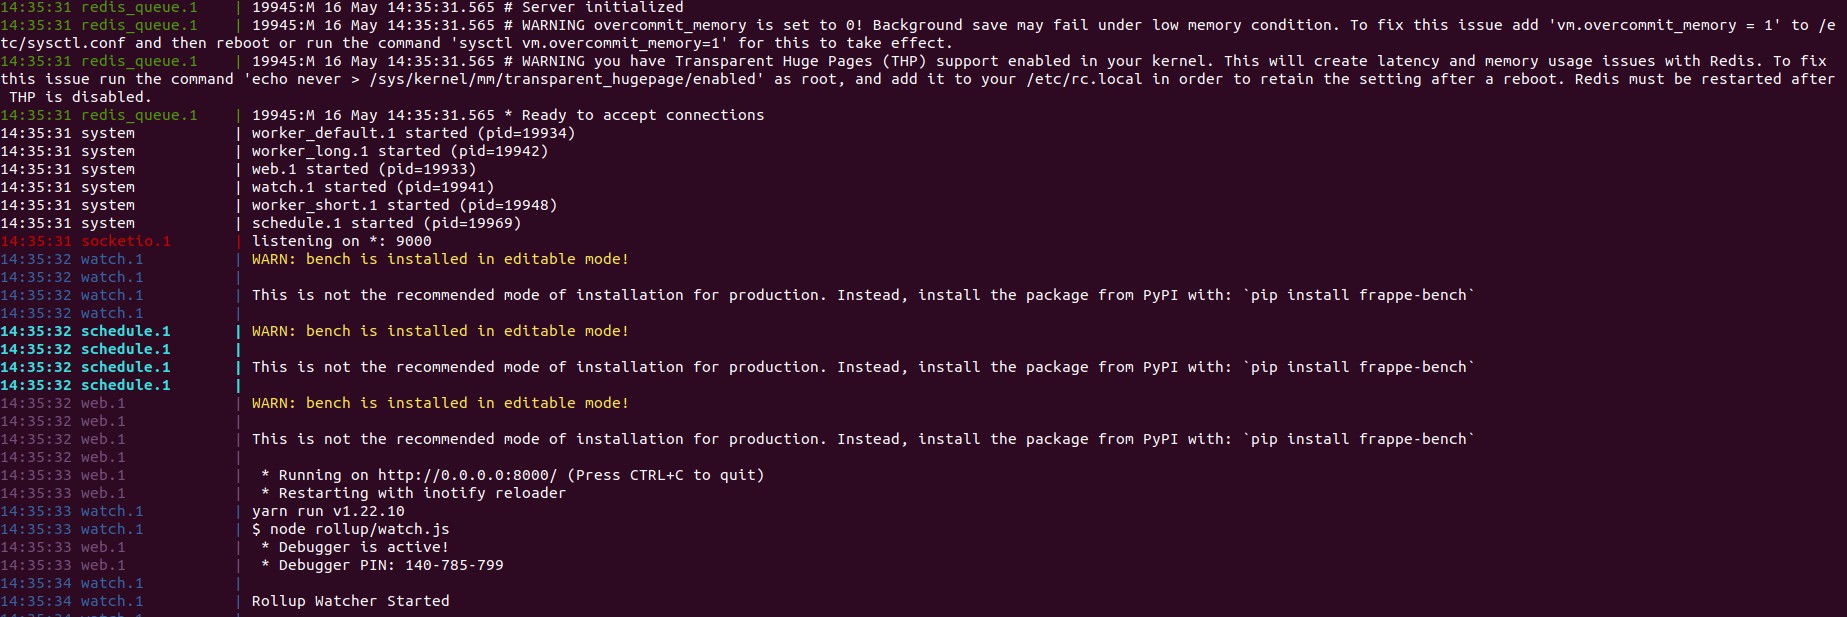
You can start the bench service by running the below command:
bench startYou will be given the below output:
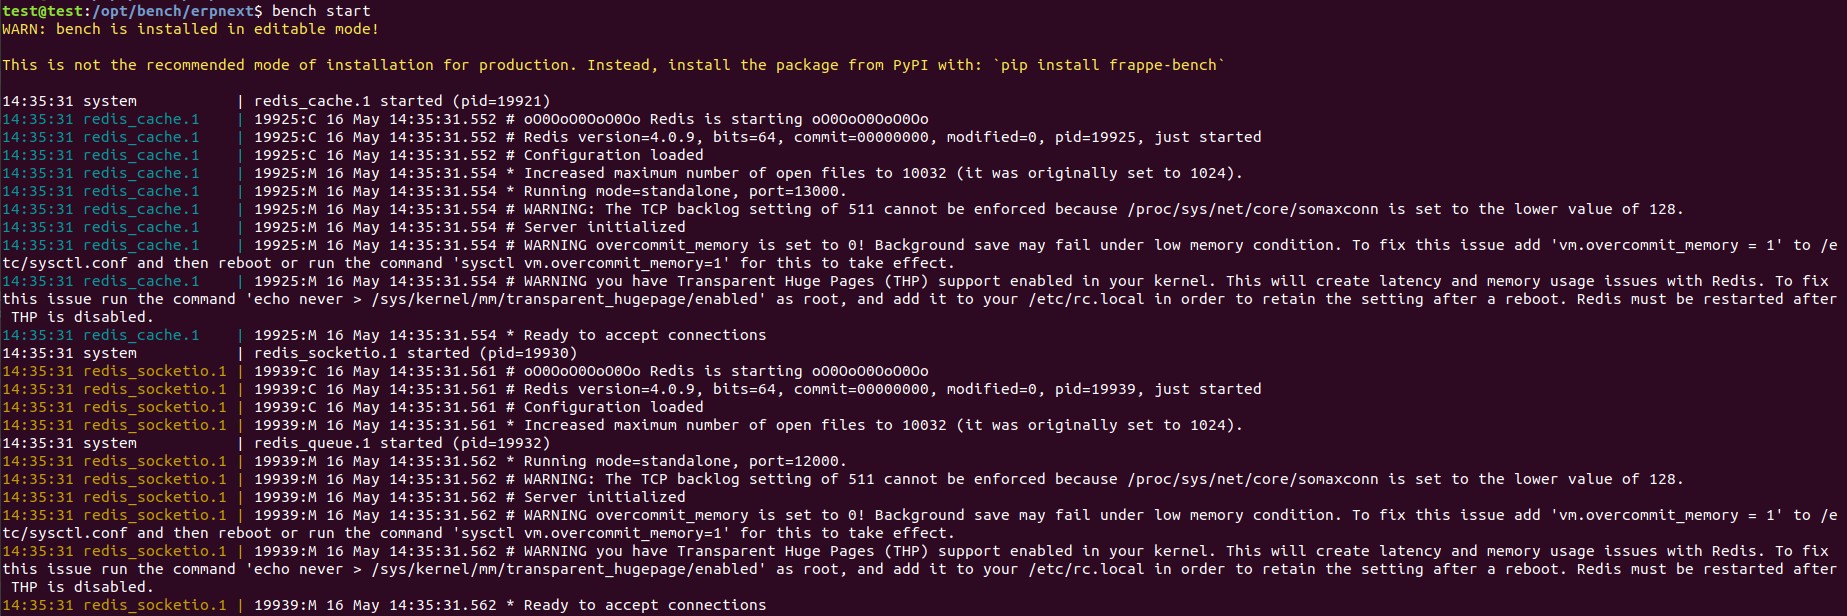
At this point, the ERPNext is installed and up and running. By default, it is listening to port 8000 as the below logs indicate.
However, if you are using a sample domain name as above, make sure to add it as an entry to the /etc/hosts file.
<server_ip_address> erpnext.test.com
Step7: Access ERPNext Web Interface
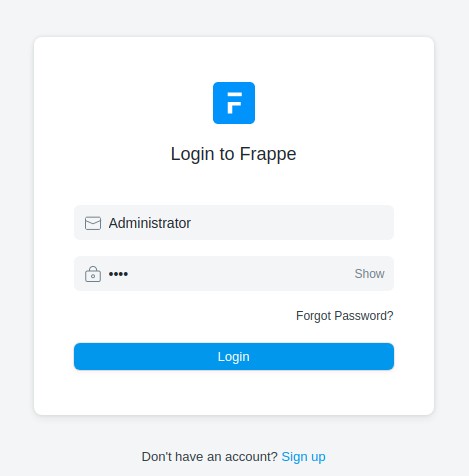
You can access the ERPNext login page in the browser via http://erpnext.test.com:8000.
Provide the username as ‘Administrator’ and the admin password you provided during the installation process.
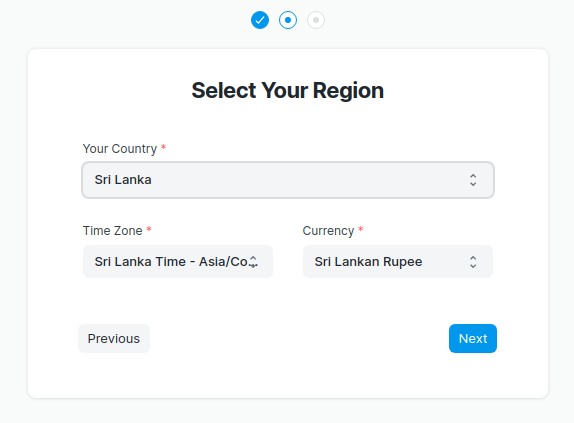
You will be redirected to a few configuration pages as below. Here you have to select a preferred language and click on ‘Next’.

Provide the country name, timezone, and currency, and click on the ‘Next’ again.
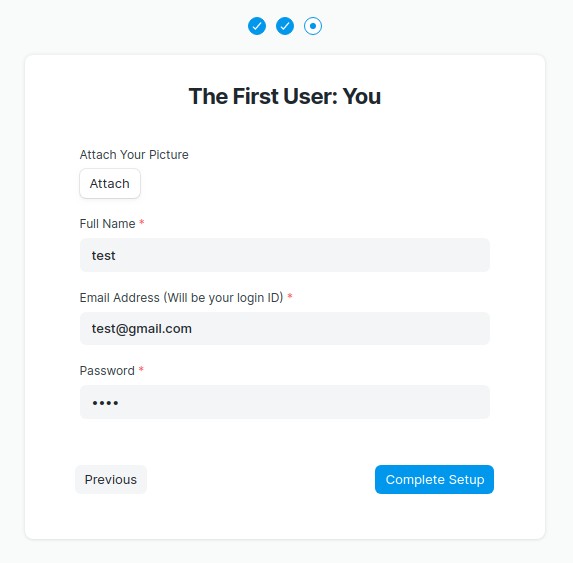
Provide the first name, email, password, and click on the ‘Complete Setup’ button.
After completing the initial setup, you will be redirected to the ERPNext dashboard.
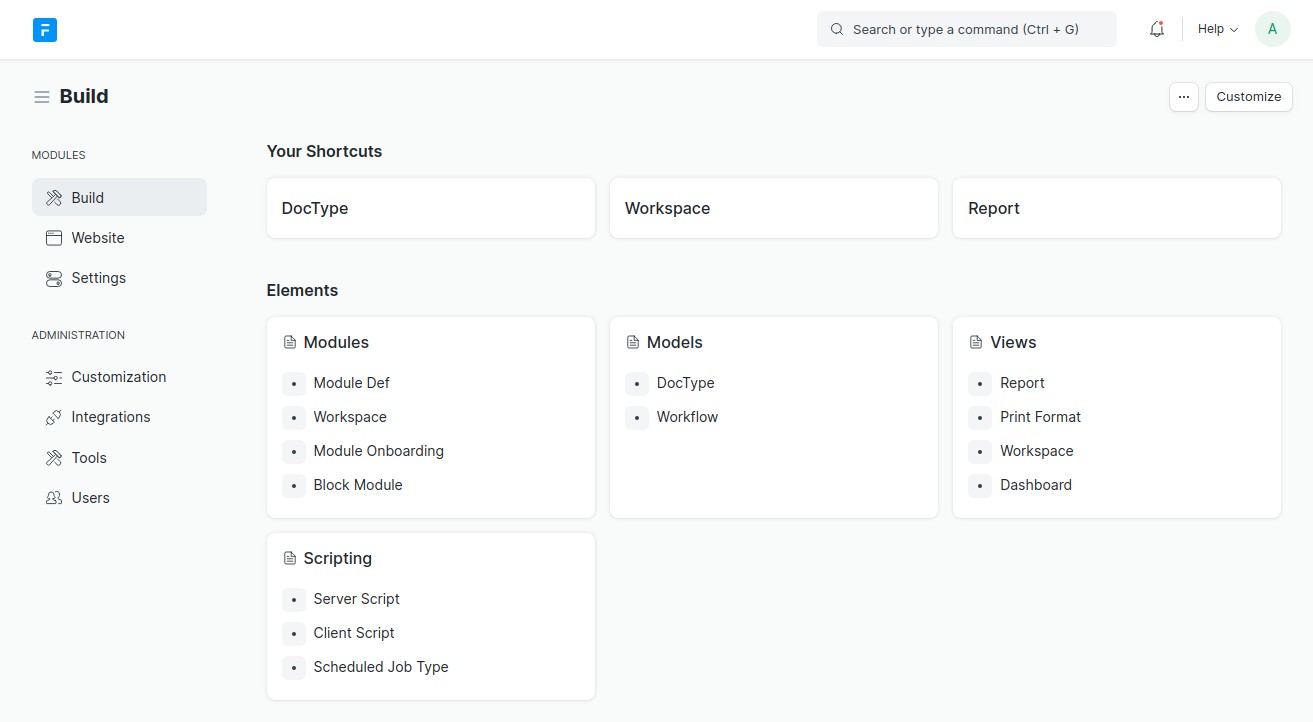
That is it then! Now you have a successful installation of the ERPNext of your Ubuntu server. From now on, you are free to use ERPNext for your business operations. We hope that you will find it interesting.
See Soladrive's managed ERPNext service plans here

