

Odoo has a robust website builder that allows businesses to create and customize beautiful and functional websites. From Odoo 13 onwards, this website builder became available with the community version. This article explores some of the features of the website builder to help you customize your Odoo websites in a number of steps as below.
- Website Configuration.
- Setting a theme.
- Setting languages.
- Creating and customizing pages.
- Customizing the menu and menu items.
Step 1: Website Configuration
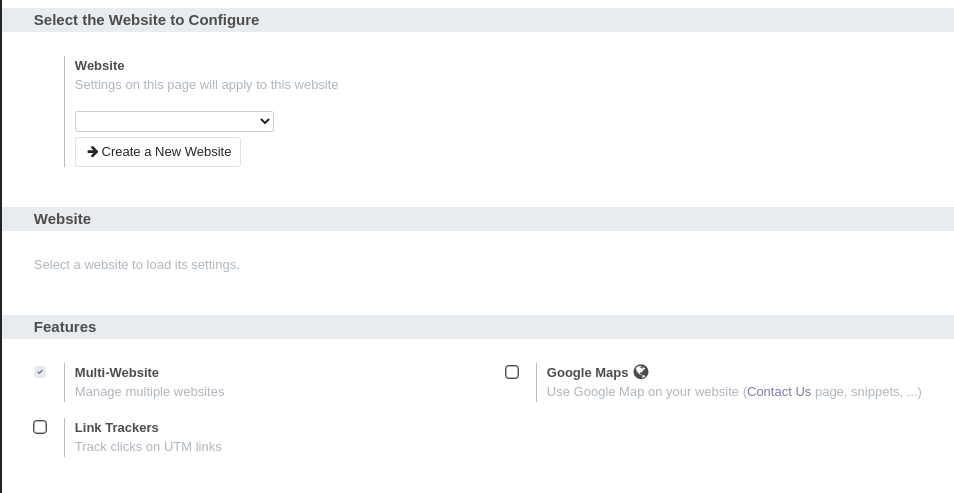
To start using the website builder, make sure you have the Website module installed in your Odoo instance. To create a new website, go to Website -> Configuration -> Settings. The image below shows the body of the page as you should see it.
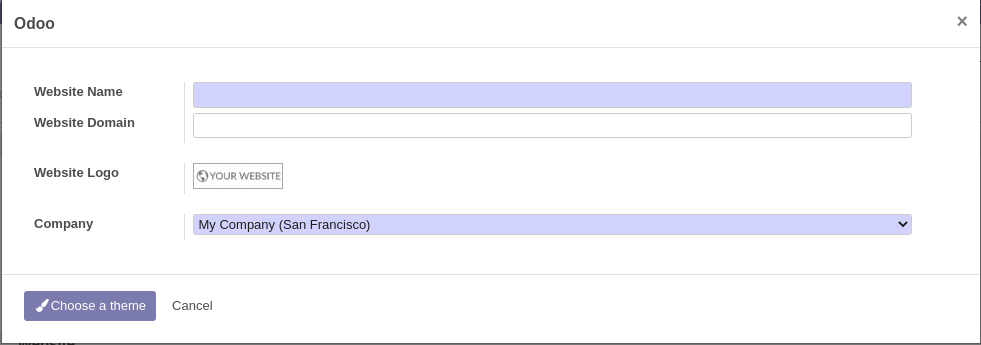
Click on the "Create a New Website" button. You will see the modal below. On this interface, enter the name of your website, the domain through which to access it, a logo, and the company associated with this website. This last field allows you to manage multiple websites for multiple companies within your Odoo instance.
The next step is to set a theme for your new website. Click on the "Choose a theme" button.
Step 2: Setting a theme
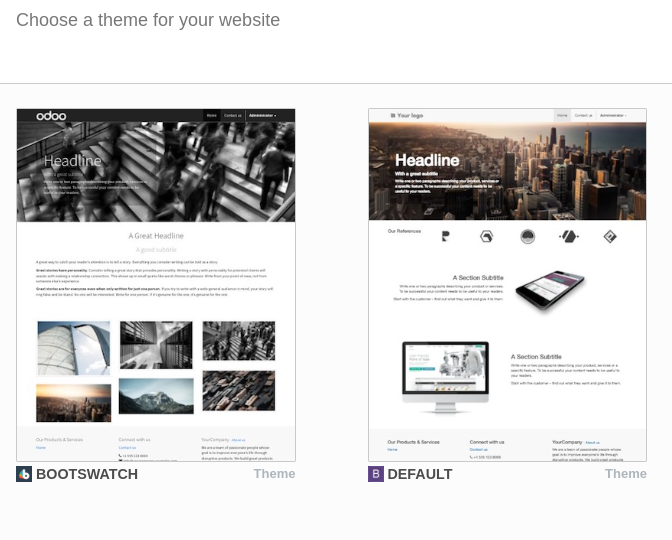
By default, Odoo 13 comes with two website themes built in. You can choose one of these or install another theme from the online Odoo marketplace by following this guide. For this article, we will select the default theme shown in the screenshot below. Hover the mouse pointer over the desired theme and click on "Use this theme".
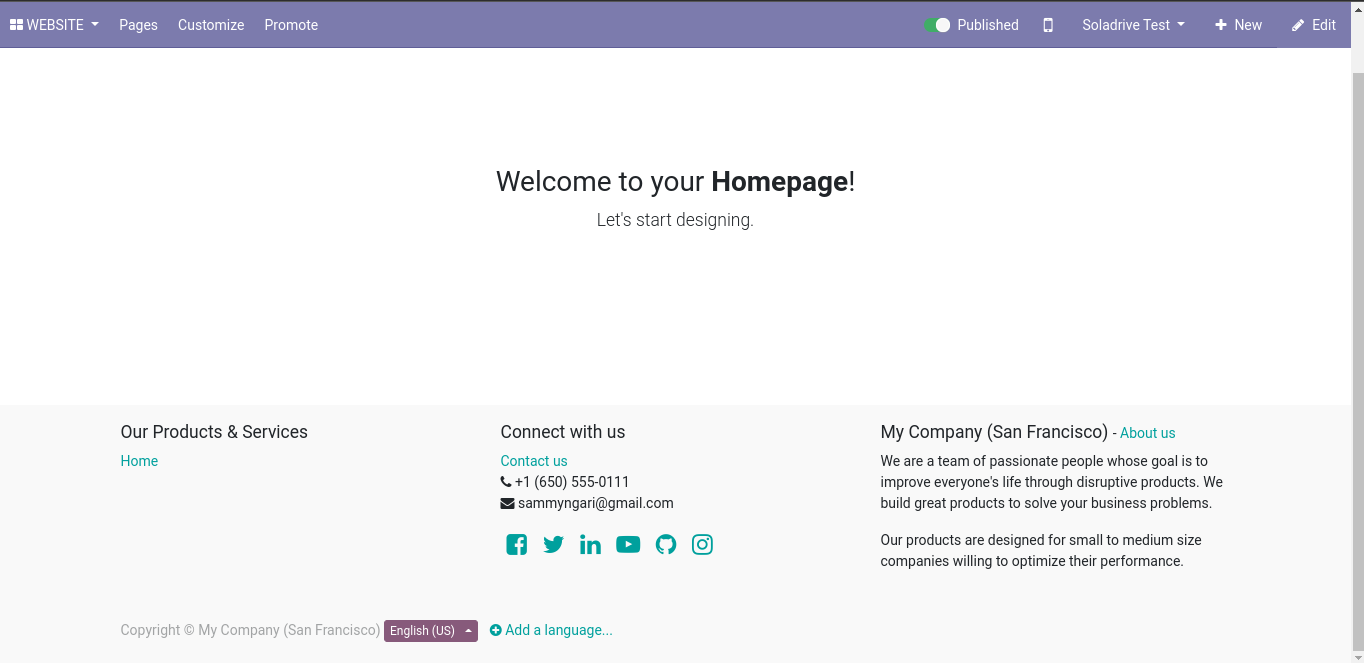
You should now see a welcome page to your new website as shown below. You have successfully created a new website for a company in your Odoo instance and set a theme for your website.
Step 3: Setting languages
Odoo allows you to serve your website in multiple languages. This is especially ideal for companies with an international presence. At the website's footer, you can see the dropdown for selecting the language as shown below. Click on "Add a language" beside this dropdown.
![]()
You will see the language setting dialogue below. In this interface, you need to select a language from the dropdown list and select the website to translate. For this article, we have chosen French and proceeded with our new website which is selected by default.
![]() Click on the "Load" button once done. At the footer of your home page, you can now see French as a new language that is available for your website alongside English. You can set as many languages as you wish for your website. When you select a language here Odoo will translate the entire page to the selected language.
Click on the "Load" button once done. At the footer of your home page, you can now see French as a new language that is available for your website alongside English. You can set as many languages as you wish for your website. When you select a language here Odoo will translate the entire page to the selected language.

Step 4: Creating and customizing pages
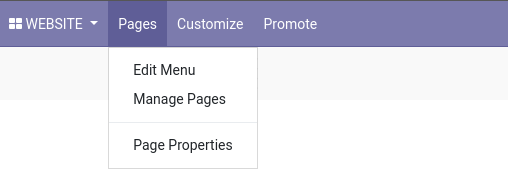
The Odoo website builder comes with a page manager which allows you to add new pages and customize existing pages. To access the page manager, click on "Pages" on the left-hand side of the top menu as shown below.
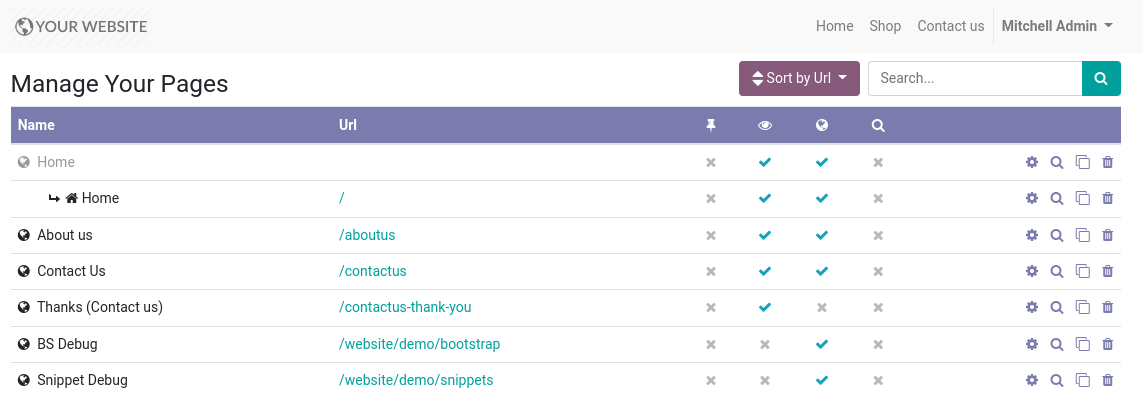
This will bring you to the Pages manager seen below. Odoo comes with some pages ready to go like an "About Us" page and a "Contact Us" page. However, you can create new pages as you wish.
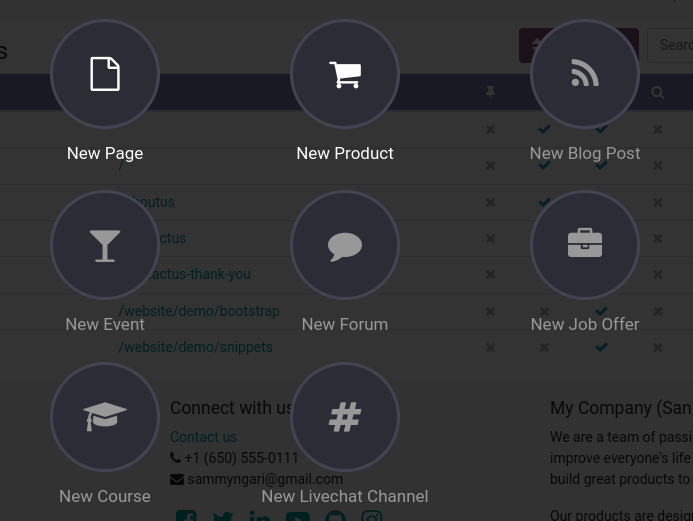
To add a new page to your website, click on "New" on the right-hand side of the top menu. Depending on the modules you have installed in your Odoo instance, there are different types of pages that you can add as seen below. Clicking on one of the disabled options will prompt you to install the required module to enable it.
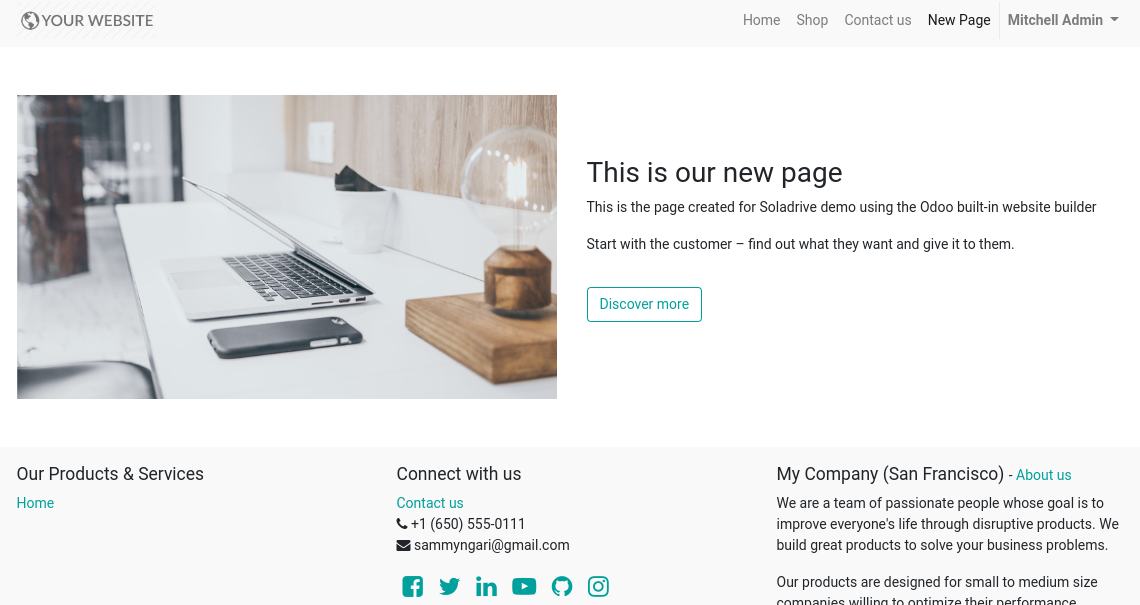
For this article, we will add a blank page. To do this, click on "New Page". You will be prompted to enter the name of the page and to decide whether to add it to the main menu. After you have entered this information, you will be taken to the page editor seen below.
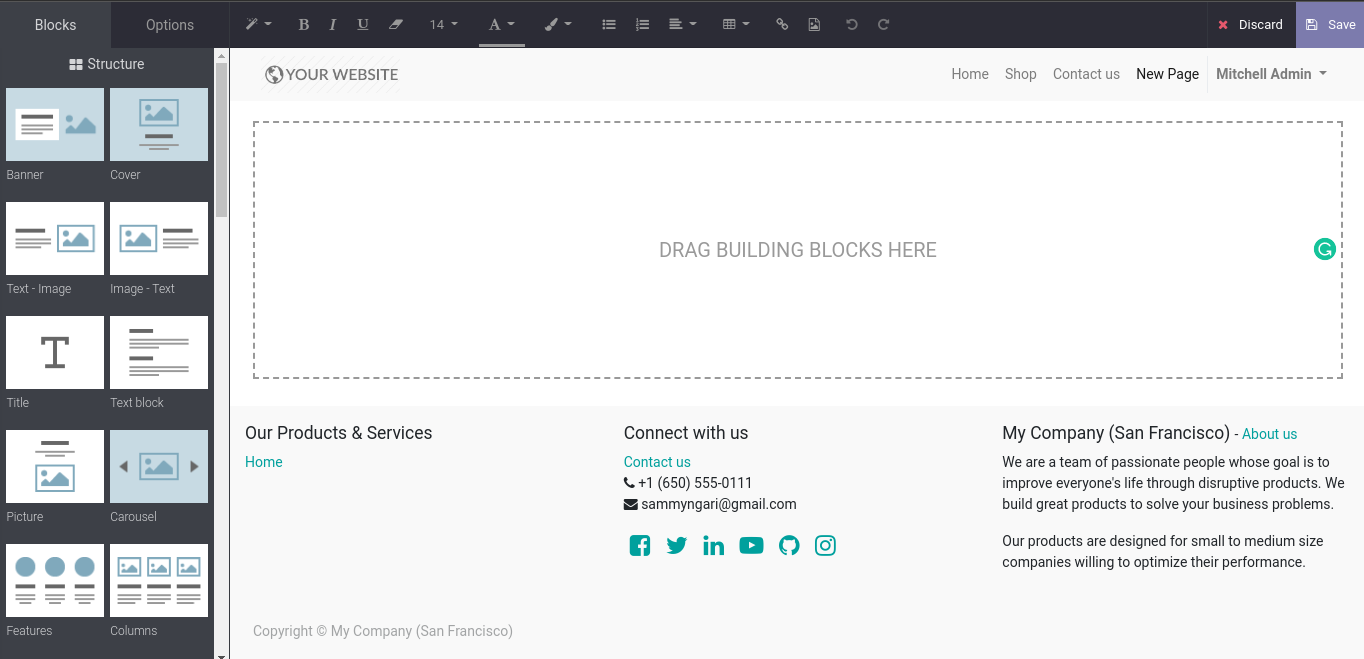
From here, you can use the panel on the left-hand side of the page to add new blocks to the blank page. There are very many styling options for your new web page. You should take your time here and explore your options. If you already had a wireframe designed, it is really easy to implement it using this page builder. Click "Save" when you are done editing your page. The new page for this article appears as shown below. Notice that it is also has an entry on the menu.
Step 5: Customizing the menu and menu items
To edit the menu and menu items, go to Pages -> Edit Menu on the left-hand side of the top menu. You will see an editable list of all your menu items as shown below.
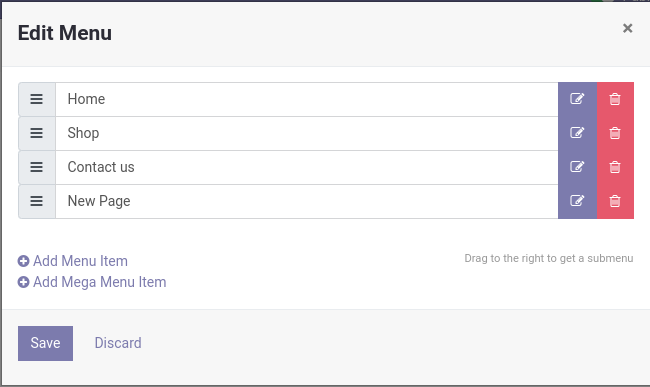
From this interface, you can add new menu items quite easily. You can also rearrange the menu items by simply dragging the items to the desired position. Editing and customizing the menu is pretty easy and straightforward in the Odoo website builder.

