

In this article, we're diving into the powerful integration of Microsoft Outlook and Odoo, with a focus on Odoo's Mail Plugins. These connectors act as a bridge between your mailbox and Odoo's database, allowing you to perform direct actions like creating leads and centralizing prospect emails in the CRM app, generating tasks in Odoo projects, and creating Helpdesk tickets. Specifically, we'll explore the seamless Outlook integration, highlighting the straightforward process of creating opportunities from the email panel. This is how to configure Outlook email in Odoo.
Outlook enables the connection of third-party applications to execute database actions directly from emails. Odoo features an Outlook plugin, facilitating the creation of opportunities directly from the email panel. This plugin needs to be configured on both Outlook and Odoo.
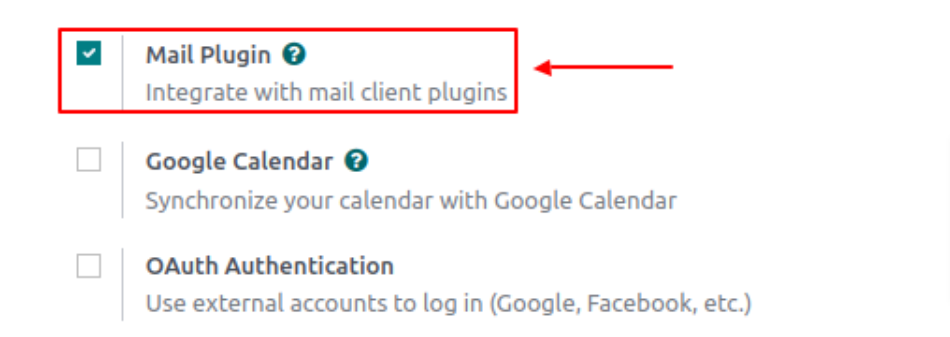
Step 1: Enable the mail plugin.
For the Mail Plugin to function correctly, activate the feature in your Odoo database by navigating to Settings → General Settings → Integrations, enabling Mail Plugin as shown below, and saving the configuration.
Step 2: Install the Outlook plugin.
Open your Outlook mailbox and choose any email. Once done, click the "More Actions" button in the upper right corner, then select "Get Add-ins" as shown below. 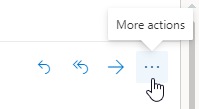
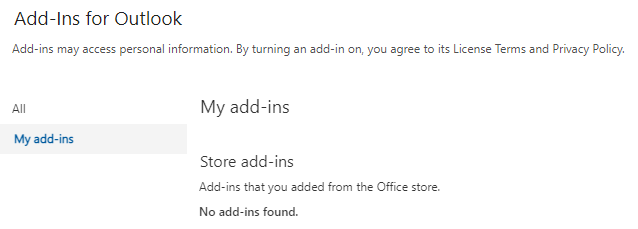
Select the "My Add-ins" tab on the left side. You will see the interface below.
 In the Custom add-ins section near the bottom, select + Add a custom add-in, and then click on "Add from URL" as shown below.
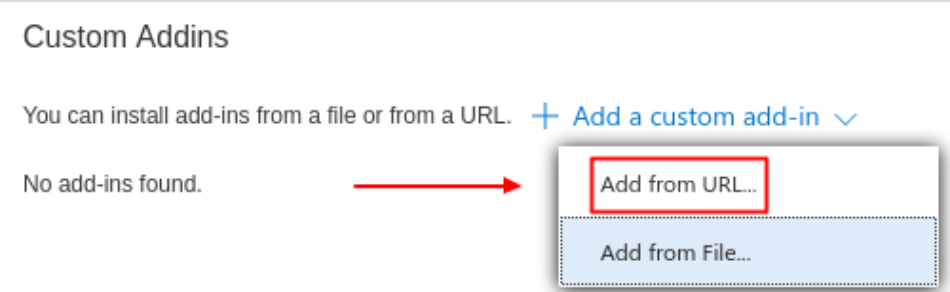
Enter this URL, https://download.odoocdn.com/plugins/outlook/manifest.xml into the designated field and click "OK". Click "Install" on the warning prompt that comes up after this.
Step 3: Connect the Odoo Database.
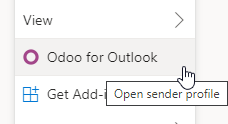
Now, establish the connection between Outlook and the Odoo database. Start by opening any email in the Outlook mailbox, then click on the "More Actions" button in the upper right corner and choose "Odoo for Outlook" as shown below.
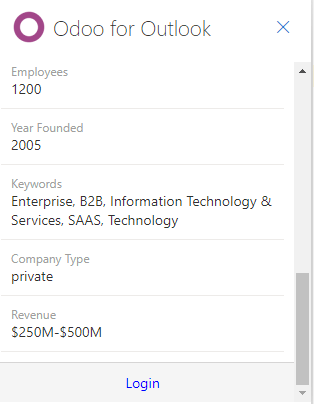
You will see the following interface displaying Company Insights. At the bottom, click on Login.
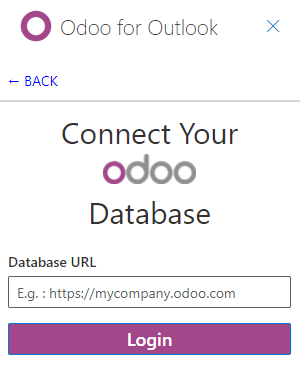
 You will see the interface below prompting you to enter the URL to the Odoo database. Enter the Odoo database URL and click on "Login".
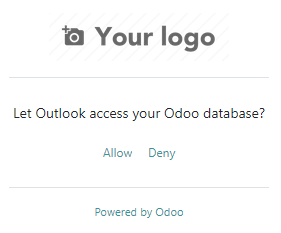
The plugin will prompt for permission to display a window. Click "Allow" on this prompt. Enter the login credentials to the Odoo database then click on "Allow" in the interface below for the plugin to connect to the Odoo database.
Step 4: Add a shortcut to the plugin.
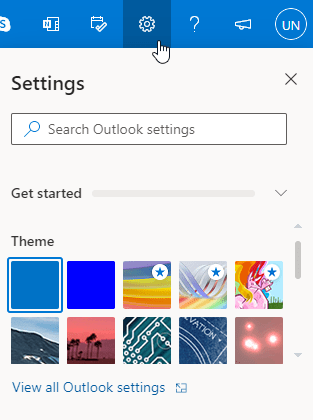
The Outlook Plugin is typically accessed from the "More Actions" menu by default. However, for efficiency, you can add it alongside other default actions. Navigate to the Outlook mailbox, click on Settings, and then select View all Outlook settings as shown below.
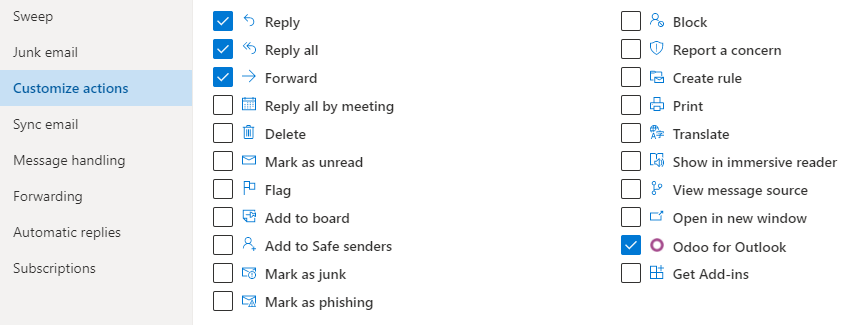
 Choose Customize actions under the Mail section, opt for Odoo for Outlook, and proceed to Save.
After completing this step, open any email, and the shortcut should be visible as shown below.
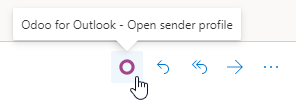 With the successful installation and activation of the plugin, creating leads within Odoo seamlessly integrates with your Outlook experience. Simply click on the Odoo icon (the O) or navigate to "More Actions" and select "Odoo for Outlook". The side panel will elegantly appear on the right side, where, under Opportunities, you can effortlessly click on New. Witness a new window materialize, showcasing the created opportunity in the Odoo database. This streamlined process exemplifies the power of the Outlook-Odoo integration, offering a user-friendly pathway to enhance your workflow and propel your business forward.

